
4th of July Tie Dyed Fudge
The 4th of July Tie Dyed Fudge is a festive and colorful treat that captures the spirit of summer celebrations. This delicious fudge is perfect for barbecues, picnics, or family gatherings. Its vibrant red, white, and blue layers make it not only a delightful dessert but also an eye-catching centerpiece. Easy to make and incredibly tasty, this fudge will be a hit with both kids and adults alike.

Why You’ll Love This Recipe
- Visually Stunning: The tie-dye effect of red and blue layers creates an impressive presentation.
- Easy to Make: This recipe requires simple ingredients and straightforward steps, making it accessible for all skill levels.
- Perfect for Celebrations: Ideal for 4th of July parties or any patriotic event, adding a fun twist to your dessert table.
- Kid-Friendly: Kids will love helping to mix colors and layer the fudge, making it a fun family activity.
- Deliciously Creamy: The combination of marshmallow creme and white chocolate results in a rich, creamy texture that’s hard to resist.
Tools and Preparation
Before you start making your colorful fudge, gather your tools. Having everything ready will make the process smooth and enjoyable.
Grab This Chef Knife Now - Almost Gone!
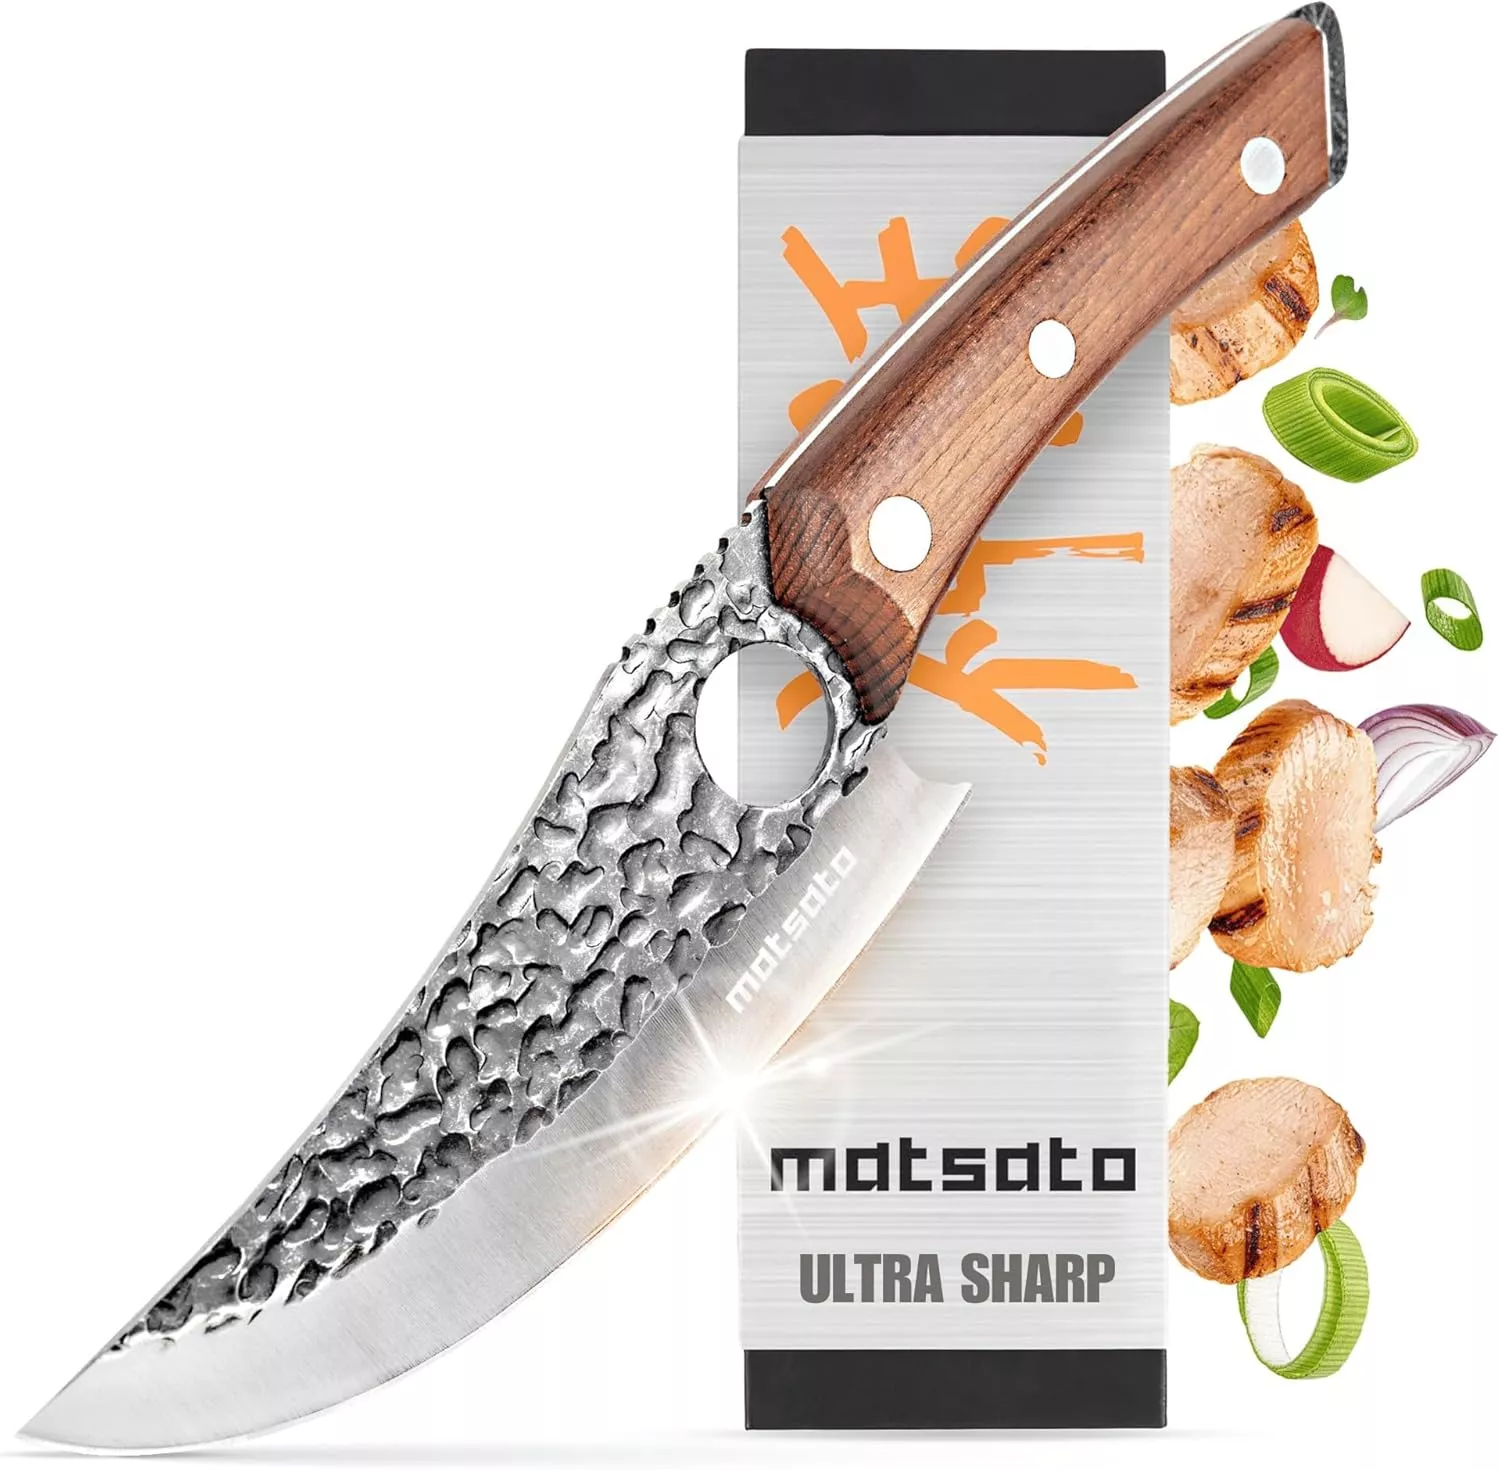
- Stays Razor-Sharp: Ice-hardened blade keeps its edge longer than ordinary knives
- Superior Grip Control: Unique finger hole design gives you perfect balance and safety
- Built to Last a Lifetime: Premium stainless steel blade with elegant beech wood handle
Customer Reviews ★★★★★
Essential Tools and Equipment
- 9×5 loaf pan
- Aluminum foil
- Large saucepan
- Heat-safe bowls (3)
- Spatulas (3)
- Knife
Importance of Each Tool
- Loaf pan: Provides the perfect shape for layering the fudge beautifully.
- Spatulas: Essential for mixing colors without cross-contaminating them, ensuring distinct layers.
- Large saucepan: Allows you to combine ingredients evenly while heating.
Ingredients
For the Fudge Base
- 2 1/2 cups sugar
- 1/2 cup unsalted butter
- 1 5-oz can evaporated milk
- 2 cups marshmallow creme
- 1 1/3 cups white chocolate chips
- 1 teaspoon vanilla extract
For Coloring
- Red gel food coloring
- Blue gel food coloring
How to Make 4th of July Tie Dyed Fudge
Step 1: Prepare Your Pan
Line a 9×5 loaf pan with aluminum foil. This will help you easily remove the fudge once it sets.
Step 2: Cook the Base Mixture
- In a large saucepan over medium heat, combine unsalted butter, sugar, and evaporated milk.
- Bring the mixture to a boil while stirring constantly for about 5 minutes.
Step 3: Add Creamy Ingredients
- Remove from heat once boiling is complete.
- Stir in marshmallow creme, white chocolate chips, and vanilla extract. Mix until everything is melted together smoothly.
Step 4: Color the Fudge
- Quickly divide the melted fudge mixture into three heat-safe bowls.
- Add a few drops of red gel food coloring to one bowl and blue gel food coloring to another.
- Use separate spatulas or spoons for each color to mix thoroughly without blending them together.
Step 5: Layering the Fudge
- Pour the colored fudge into the prepared loaf pan in layers: red first, then white (the plain base), followed by blue on top.
- Smooth each layer down with the back of a clean spoon before adding the next layer.
Step 6: Swirl and Set
- Once all layers are poured into the pan, use a knife to gently drag through all layers—be careful not to touch the bottom too much.
- Allow the fudge to set at room temperature for at least 2 hours before cutting it into small squares about one inch wide.
Enjoy your vibrant 4th of July Tie Dyed Fudge as part of your holiday festivities!
How to Serve 4th of July Tie Dyed Fudge
Serving your 4th of July Tie Dyed Fudge can be just as fun as making it! This colorful fudge is perfect for any patriotic celebration and can be presented in various creative ways that will delight your guests.
Festive Platter
- Arrange the fudge squares on a vibrant platter to showcase the colors. Add some fresh strawberries and blueberries around for an extra festive touch.
Individual Treat Bags
- Package small squares in clear treat bags tied with red, white, and blue ribbons. These make great party favors for guests to take home.
Ice Cream Sundae Topping
- Chop the fudge into smaller pieces and use it as a topping for ice cream sundaes. The colorful fudge will add both flavor and visual appeal.
Fudge Skewers
- Alternate pieces of 4th of July Tie Dyed Fudge with fresh fruit on skewers. It’s a fun way to serve this treat at barbecues or picnics.
Dessert Bar Station
- Set up a dessert bar where guests can create their own treats. Provide whipped cream, sprinkles, and additional toppings alongside the fudge for customization.
Picnic Basket Addition
- Pack the fudge squares in your picnic basket as a delightful dessert option. Pair with other patriotic snacks for a complete meal outdoors.

How to Perfect 4th of July Tie Dyed Fudge
To ensure your 4th of July Tie Dyed Fudge turns out perfectly every time, follow these helpful tips.
- Use fresh ingredients: Ensure all your ingredients, especially the butter and chocolate chips, are fresh for the best flavor.
- Temperature matters: Keep an eye on the boiling mixture. If it’s too hot, it might scorch; if not hot enough, it won’t set properly.
- Work quickly: Once you add food coloring, work fast to layer the fudge before it begins to set.
- Don’t overmix colors: When adding food coloring, avoid mixing them together. This keeps each color distinct for that tie-dye effect.
- Let it cool completely: Allow the fudge to cool completely before cutting. This keeps the layers intact and makes cutting easier.
- Store properly: Keep any leftovers in an airtight container at room temperature for up to a week.
Best Side Dishes for 4th of July Tie Dyed Fudge
Complementing your 4th of July Tie Dyed Fudge with delicious side dishes can enhance your festive celebration. Here are some great options:
- Grilled Corn on the Cob: Sweet corn grilled to perfection adds a smoky flavor that pairs well with sweet desserts.
- Patriotic Fruit Salad: A mix of strawberries, blueberries, and bananas creates a refreshing side that’s colorful and healthy.
- BBQ Chicken Wings: Spicy wings offer a savory contrast to the sweetness of the fudge, making them a great pairing.
- Caprese Salad Skewers: Fresh mozzarella, basil, and cherry tomatoes on skewers provide vibrant colors and refreshing flavors.
- Coleslaw: The crunchiness and tangy taste of coleslaw balance out the richness of the fudge nicely.
- Potato Salad: Creamy potato salad is a classic side dish that complements any barbecue spread well.
- Watermelon Slices: Juicy watermelon slices keep things light and hydrating during summer festivities.
- Veggie Tray with Dip: A selection of fresh vegetables served with ranch or hummus provides a crunchy contrast to sweet treats like fudge.
Common Mistakes to Avoid
Making 4th of July Tie Dyed Fudge can be a fun experience, but a few common mistakes can lead to disappointing results.
- Not using the right pan: Using a pan that is too small can overflow your fudge. Always use a 9×5 loaf pan for best results.
- Overheating the mixture: If you boil the fudge too long, it will become grainy. Keep stirring and boil for only 5 minutes.
- Mixing colors too much: To maintain the tie-dye effect, avoid over-mixing the food coloring into each layer. Stir gently until just combined.
- Skipping the cooling time: Cutting fudge too soon can cause it to crumble. Allow it to set for at least 2 hours for perfect squares.
- Not measuring ingredients accurately: Baking is precise. Ensure all ingredients are measured correctly for consistent texture and flavor.
Refrigerator Storage
- Store in an airtight container.
- Fudge will last up to 1 week in the refrigerator.
Freezing 4th of July Tie Dyed Fudge
- Cut into squares before freezing for easy serving.
- Place in a freezer-safe container or wrap tightly in plastic wrap.
- Can be frozen for up to 3 months.
Reheating 4th of July Tie Dyed Fudge
- Oven: Preheat to 350°F (175°C) and warm fudge for about 10 minutes.
- Microwave: Heat on medium power in short intervals of 10-15 seconds until soft.
- Stovetop: Use a double boiler on low heat, stirring constantly until warmed through.
Frequently Asked Questions
What is 4th of July Tie Dyed Fudge?
4th of July Tie Dyed Fudge is a colorful dessert made with layers of red, white, and blue fudge, perfect for celebrating Independence Day.
Can I customize the colors in my fudge?
Absolutely! You can use any gel food color to create your desired theme or even mix colors for different occasions.
How do I store leftover 4th of July Tie Dyed Fudge?
Store leftover fudge in an airtight container in the refrigerator for up to one week or freeze it for up to three months.
Is this recipe suitable for kids?
Yes! Making 4th of July Tie Dyed Fudge is a fun activity that kids can help with, especially when mixing colors and pouring layers.
Can I make this fudge ahead of time?
Definitely! This fudge can be made up to a week in advance. Just store it properly until you’re ready to serve.
Final Thoughts
The 4th of July Tie Dyed Fudge is not only a visually stunning treat but also incredibly easy to make. Its vibrant colors celebrate American pride while catering to various tastes. Feel free to customize with different colors or flavors, making it versatile for any festive occasion. Give this recipe a try and enjoy a delightful sweet treat!

4th of July Tie Dyed Fudge
- Total Time: 25 minutes
- Yield: About 24 servings 1x
Description
4th of July Tie Dyed Fudge is a vibrant and festive dessert that embodies the spirit of Independence Day celebrations. This easy-to-make fudge features beautiful layers of red, white, and blue, making it a stunning centerpiece for barbecues, picnics, or family gatherings. With its creamy texture and delightful flavor, this treat is sure to be a hit with both kids and adults alike. Perfect for sharing, this colorful fudge not only satisfies your sweet tooth but also adds a fun twist to your holiday festivities. Gather your family and let the kids help with mixing colors and layering for an enjoyable cooking experience.
Ingredients
- 2 1/2 cups sugar
- 1/2 cup unsalted butter
- 1 can (5oz) evaporated milk
- 2 cups marshmallow creme
- 1 1/3 cups white chocolate chips
- Red gel food coloring
- Blue gel food coloring
Instructions
- Prepare a 9×5 loaf pan by lining it with aluminum foil.
- In a large saucepan over medium heat, combine butter, sugar, and evaporated milk. Bring to a boil while stirring constantly for about 5 minutes.
- Remove from heat and stir in marshmallow creme, white chocolate chips, and vanilla extract until smooth.
- Divide the mixture into three bowls; color one red and one blue using gel food coloring.
- Layer the fudge in the loaf pan: start with red, add the plain base, then top with blue. Smooth each layer before adding the next.
- Swirl gently with a knife to create a tie-dye effect and allow to set at room temperature for at least two hours before cutting into squares.
- Prep Time: 15 minutes
- Cook Time: 10 minutes
- Category: Dessert
- Method: Baking
- Cuisine: American
Nutrition
- Serving Size: 1 square (40g)
- Calories: 160
- Sugar: 23g
- Sodium: 50mg
- Fat: 7g
- Saturated Fat: 4g
- Unsaturated Fat: 2g
- Trans Fat: 0g
- Carbohydrates: 25g
- Fiber: 0g
- Protein: 1g
- Cholesterol: 10mg


