Homemade Honey Bun Recipe (Baked or Fried)
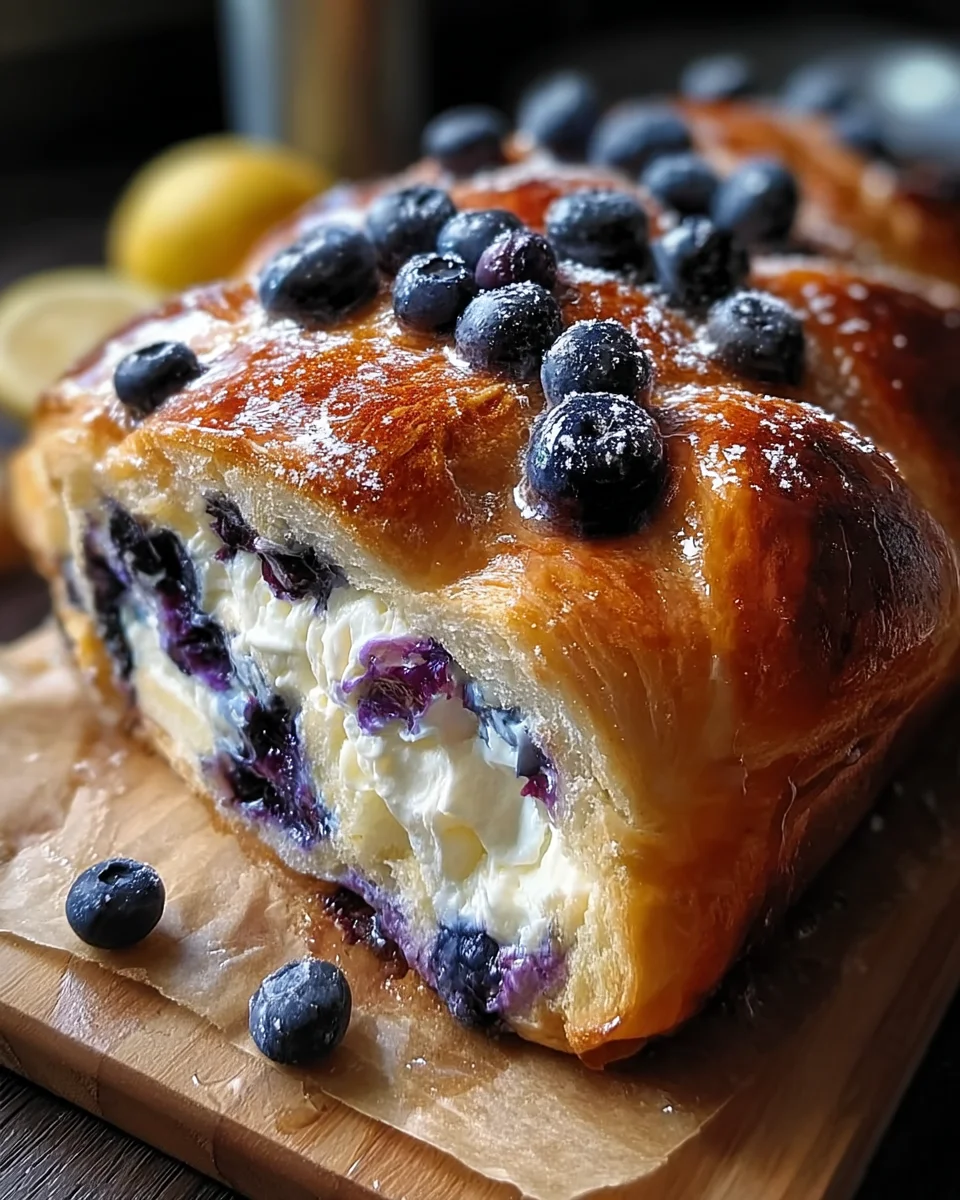
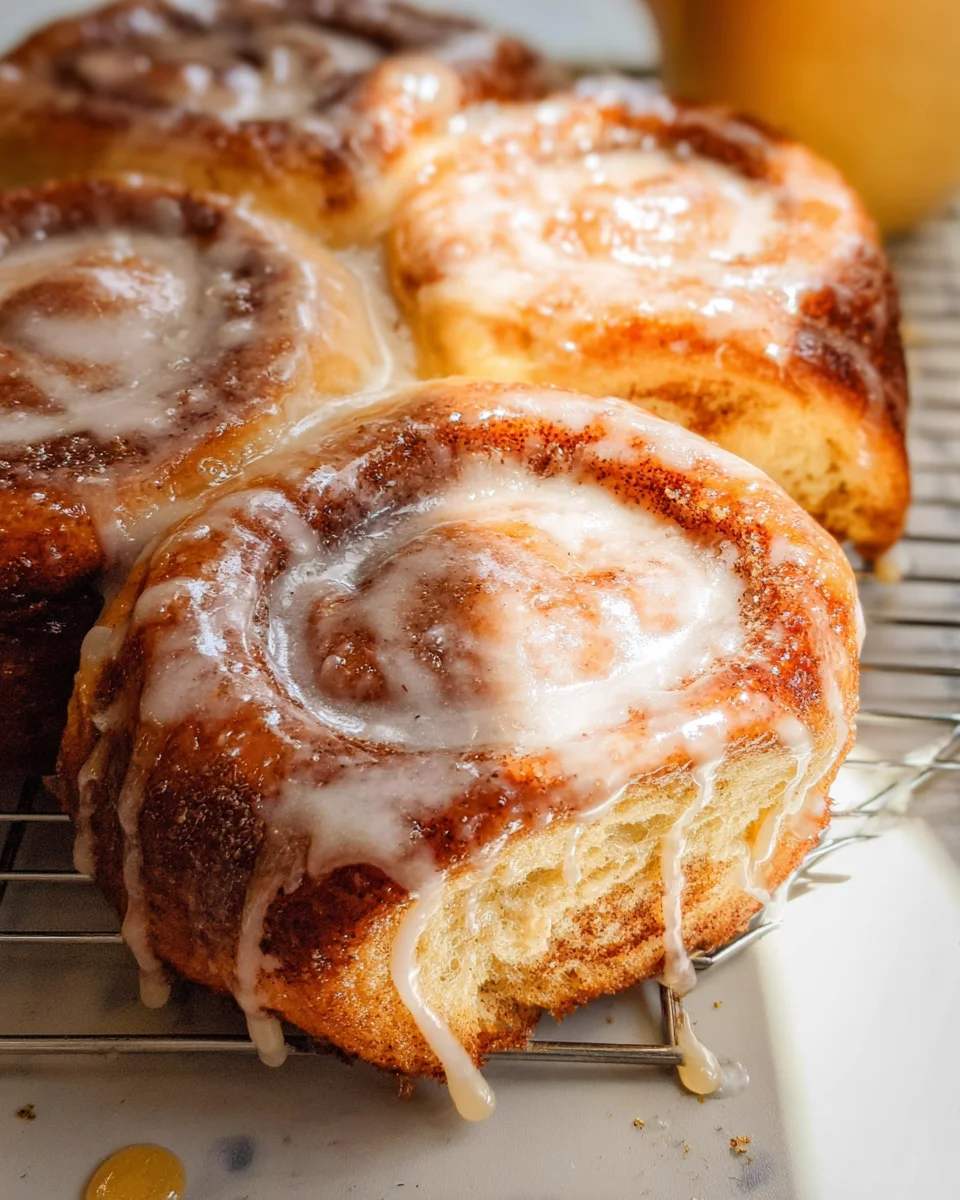
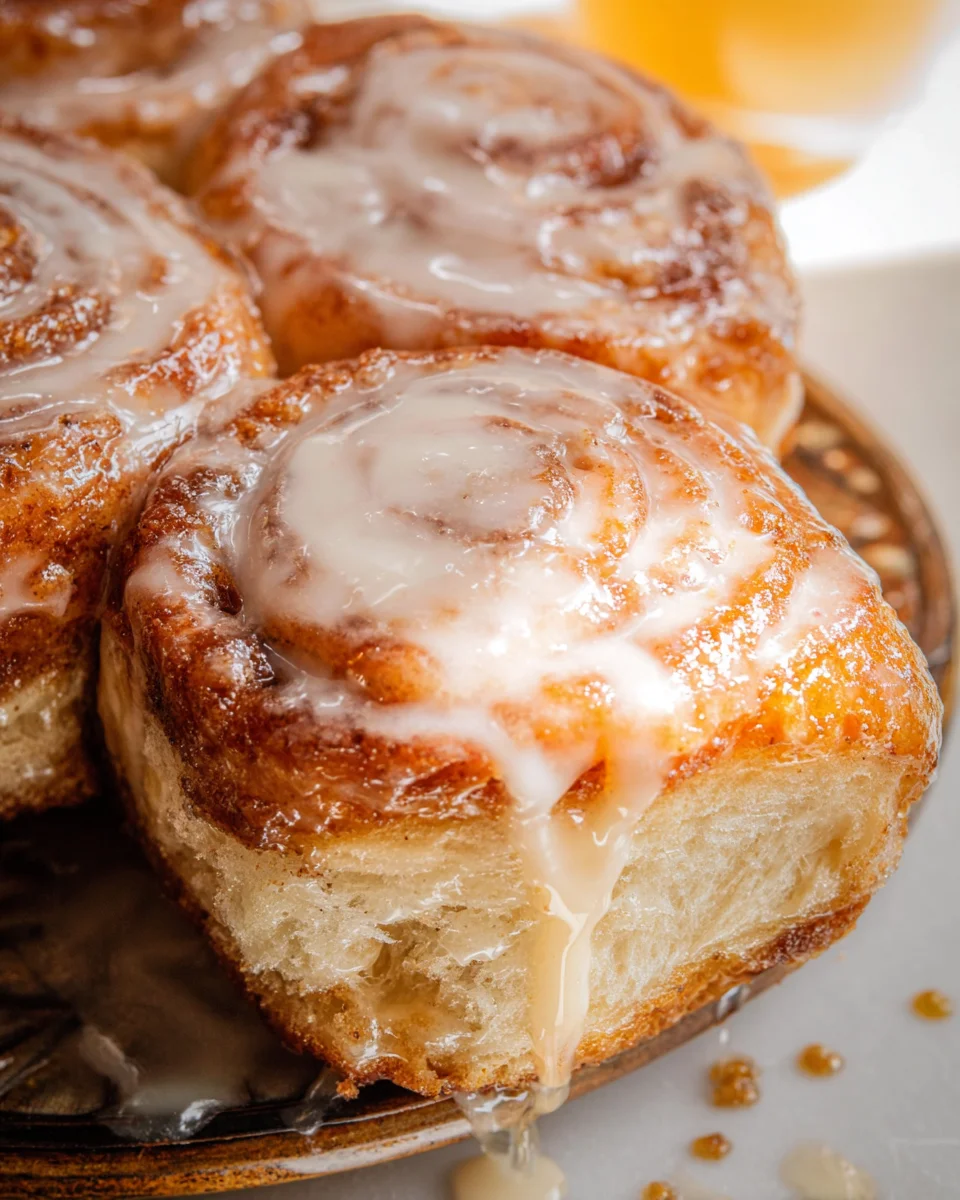
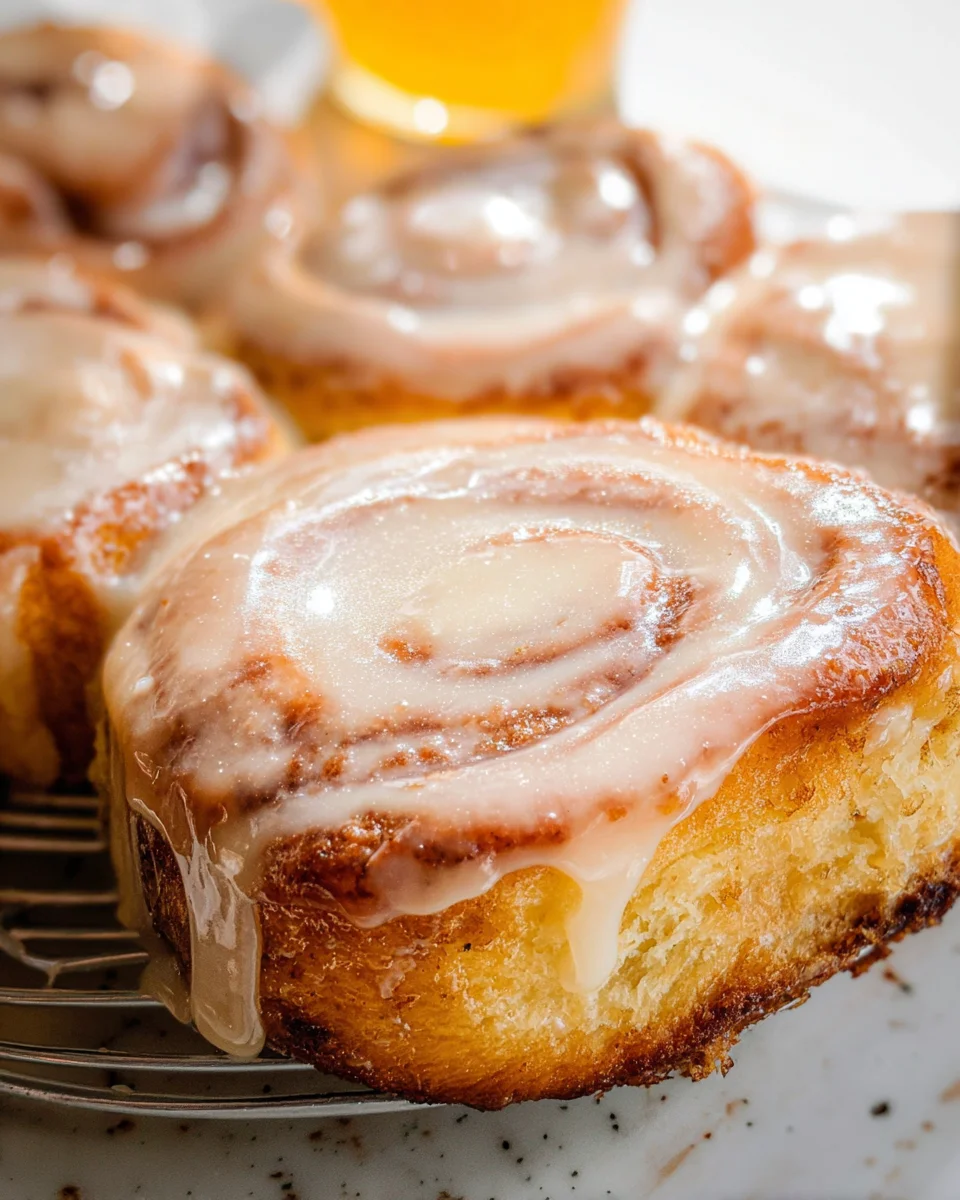
These soft, sweet Homemade Honey Bun Recipe (Baked or Fried) options bring the delightful flavor of store-bought honey buns right to your kitchen! Perfect for breakfast, desserts, or simply as a sweet treat, these honey buns are sticky and sweet, featuring a cinnamon sugar filling that melts in your mouth. Whether you choose to bake or fry them, they come with a creamy homemade glaze that enhances their charm.
Why You’ll Love This Recipe
- Easy to Make: This recipe requires simple ingredients and straightforward steps, making it perfect for beginners.
- Deliciously Sweet: The combination of honey and cinnamon creates a delightful flavor that everyone will love.
- Versatile Treat: Enjoy these honey buns for breakfast, as a snack, or even as dessert at parties and gatherings.
- Customizable Options: You can adjust the sweetness or add toppings like nuts or fruits to suit your taste.
- Melt-in-Your-Mouth Texture: These honey buns have a soft, fluffy texture that is sure to satisfy any sweet tooth.
Tools and Preparation
Before diving into the preparation of your homemade honey buns, gather the necessary tools. Having everything on hand will make the process smoother and more enjoyable.
Essential Tools and Equipment
- Stand mixer with dough hook
- Mixing bowls
- Whisk
- Rolling pin
- Sharp serrated knife
- Parchment paper
- Baking sheet
Importance of Each Tool
- Stand mixer with dough hook: This makes kneading the dough much easier and ensures a uniform texture.
- Mixing bowls: Essential for combining ingredients without making a mess.
- Rolling pin: Helps to roll out the dough evenly for consistent baking.
Ingredients
For the Dough
- 3 cups all-purpose flour (plus more for rolling)
- 3 tablespoons granulated sugar
- 1 tablespoon instant yeast
- 1/2 teaspoon salt
- 1/2 cup warm water (between 105°F-115°F)
- 1/3 cup honey
- 1 large egg
- 1 teaspoon vanilla extract
- 1/4 cup shortening (melted)
For Frying
- Vegetable or peanut oil
For Cinnamon Sugar Filling
- 1/4 cup granulated sugar
- 1 1/2 teaspoon cinnamon
For the Glaze
- 4 2/3 cup powdered sugar
- 2 1/2 tablespoons honey
- 1 tablespoon melted butter
- 1/2 teaspoon vanilla extract
- 1/4 teaspoon salt
- Warm water (as needed)
How to Make Homemade Honey Bun Recipe (Baked or Fried)
Step 1: Prepare the Dough
- Whisk together the flour, sugar, yeast, and salt in a large bowl. Set aside.
- In another bowl, combine warm water, honey (heat if necessary), egg, and vanilla extract until well mixed. Add melted shortening and mix again until combined.
- Using a stand mixer fitted with a dough hook, combine wet ingredients with dry ingredients on low speed until just mixed.
Step 2: Knead the Dough
- Increase mixer speed to medium and knead for about 8 minutes until the dough is somewhat sticky but workable.
- Shape the dough into a ball using your hands or a bowl scraper and place it in a lightly oiled glass bowl. Turn it to coat all sides in oil.
Step 3: Let It Rise
- Cover the bowl with plastic wrap or a clean towel. Place it in a warm spot free from drafts and let it rise for 1 to 2 hours until almost doubled in size.
Step 4: Prepare Cinnamon Sugar Filling
- While waiting for the dough to rise, mix cinnamon and sugar in a small bowl and set aside.
Step 5: Roll Out Dough
- Once risen, turn out the dough onto a floured surface. Roll it into an 8” by 12” rectangle. Dust with cinnamon sugar mixture while leaving edges clean.
Step 6: Roll Up Dough
- Roll from one long side towards the clean edge tightly. Brush clean edge with water before sealing by pressing down gently.
Step 7: Cut into Pieces
- Trim off pinched ends of roll then cut into equal one-inch pieces. Place on parchment-lined baking sheet allowing space between each piece.
Step 8: Final Rise
- Press down lightly on each piece before letting them rise again for about 45 minutes until puffy but not doubled in size.
Now you’re ready to enjoy your delicious homemade honey buns! Stay tuned for frying or baking instructions next!
How to Serve Homemade Honey Bun Recipe (Baked or Fried)
Serving your Homemade Honey Buns can elevate the experience and impress guests. Here are some delightful ways to present these sweet treats for any occasion.
With a Creamy Glaze
- Drizzle a generous amount of homemade glaze over the warm honey buns for a rich and sweet finish. This glaze adds a beautiful shine and enhances the flavor.
Pair with Fresh Fruit
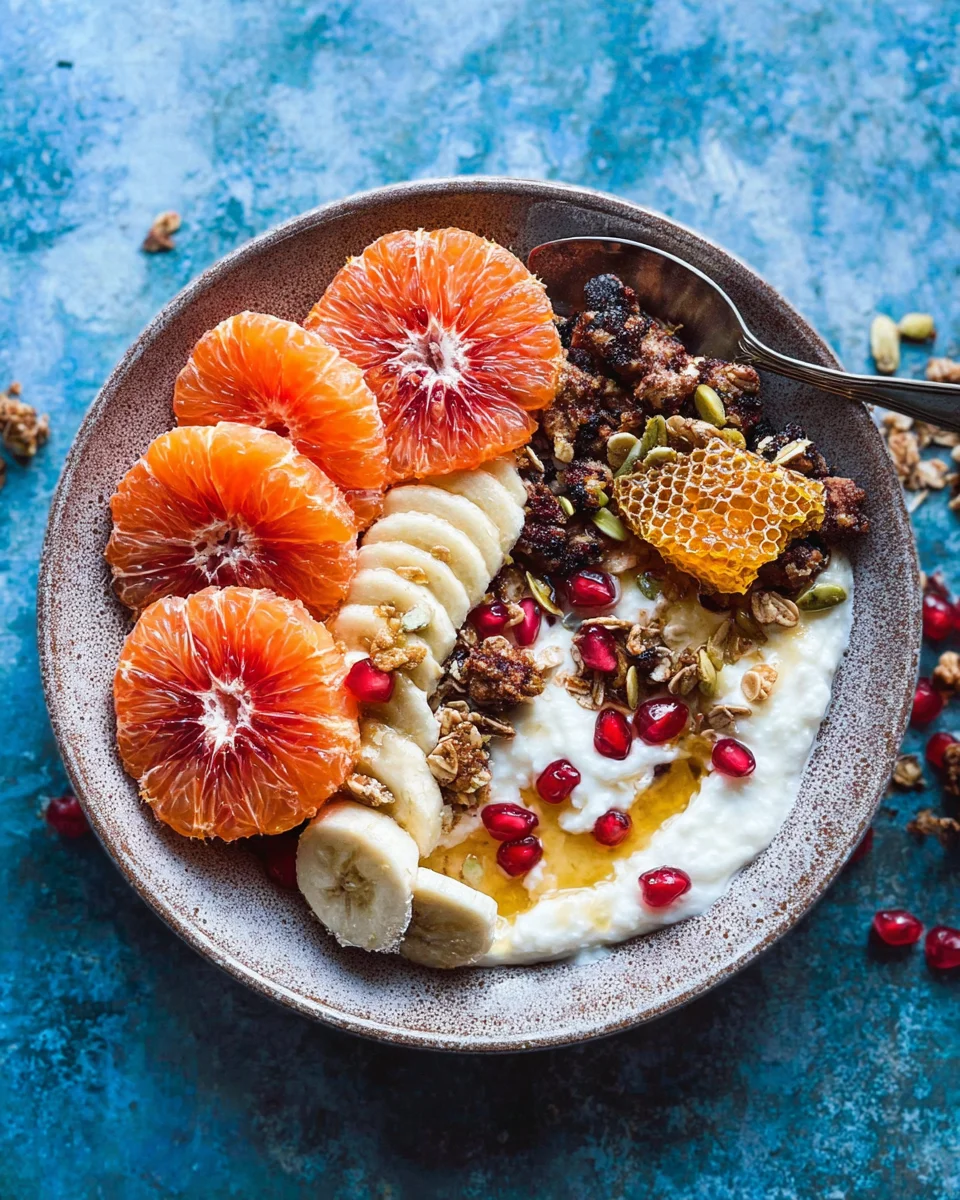
- Serve your honey buns alongside fresh berries or sliced citrus. The tartness of the fruit balances the sweetness of the buns, making for a refreshing contrast.
As Breakfast Sandwiches
- Slice your honey buns in half and fill them with cream cheese or ricotta. Add some fruit preserves for an indulgent breakfast option that feels extra special.
With Coffee or Tea
- Enjoy these honey buns with a hot cup of coffee or tea. The warm beverage complements the sweetness of the honey buns, making it a perfect pairing for breakfast or afternoon tea.
At Brunch Buffets
- Include honey buns as part of a larger brunch spread. They can be served with other pastries, fruits, and breakfast dishes to create a delightful buffet experience.
How to Perfect Homemade Honey Bun Recipe (Baked or Fried)
To achieve the best results with your homemade honey bun recipe, consider the following tips:
- Use Fresh Ingredients – Ensure your yeast is fresh for optimal rise. Stale ingredients can lead to dense buns that don’t rise properly.
- Control Dough Temperature – Keep your dough in a warm place while it rises. Drafts can slow down yeast activity, resulting in longer rising times.
- Knead Correctly – Knead until the dough is smooth and elastic but not overly sticky. Proper kneading helps develop gluten, giving the buns their delightful texture.
- Don’t Rush Rising – Allow sufficient time for the dough to rise. Patience ensures fluffy honey buns that melt in your mouth.
- Adjust Frying Oil Temperature – If frying, keep oil at around 350°F (175°C). This temperature allows for even cooking without burning the outside.
- Experiment with Fillings – Try adding different fillings like chocolate chips or nuts along with cinnamon sugar for variation and extra flavor.
Best Side Dishes for Homemade Honey Bun Recipe (Baked or Fried)
Complementing your honey buns with delicious side dishes can create a well-rounded meal. Here are some fantastic options:
- Fruit Salad – A light and refreshing mix of seasonal fruits provides a vibrant contrast to sweet honey buns.
- Yogurt Parfait – Layer yogurt with granola and berries for a healthy side that balances richness with creaminess.
- Scrambled Eggs – Fluffy scrambled eggs add protein to your meal, making it more substantial without overpowering the sweetness of the buns.
- Bacon Strips – Crispy bacon offers savory notes that perfectly contrast against sweet honey buns, creating an irresistible combination.
- Hash Brown Casserole – A cheesy hash brown dish can serve as a hearty side that pairs well with breakfast-style servings of honey buns.
- Smoothies – Blend up some smoothies using fruits and greens for an energizing drink that complements these treats beautifully.
Common Mistakes to Avoid
When making your Homemade Honey Bun Recipe, it’s easy to make a few common mistakes. Here are some pitfalls to steer clear of:
- Incorrect yeast temperature: Using water that’s too hot can kill the yeast. Ensure your water is between 105°F-115°F for optimal activation.
- Skipping the rise time: Allowing the dough to rise properly is crucial for texture. Don’t rush this step; it should double in size for the best results.
- Overworking the dough: Kneading is important, but too much can toughen your honey buns. Aim for 8 minutes of kneading on medium speed.
- Not measuring ingredients accurately: Baking requires precision. Use a kitchen scale or measuring cups for accurate ingredient quantities.
- Ignoring the cinnamon-sugar mixture: Applying this mixture too lightly or unevenly can lead to bland buns. Be generous and ensure even coverage.
Storage & Reheating Instructions
Refrigerator Storage
- Store in an airtight container for up to 3 days.
- Keep at room temperature if you plan to eat them within a day.
Freezing Homemade Honey Bun Recipe (Baked or Fried)
- Wrap each honey bun tightly in plastic wrap and place in a freezer-safe bag.
- They can be frozen for up to 2 months without losing flavor.
Reheating Homemade Honey Bun Recipe (Baked or Fried)
- Oven: Preheat to 350°F and warm for about 10-15 minutes until heated through.
- Microwave: Heat individually for about 20-30 seconds, but this may make them slightly chewy.
- Stovetop: Warm in a skillet over low heat with a lid on for about 5 minutes, allowing them to steam slightly.
Frequently Asked Questions
If you have questions about this Homemade Honey Bun Recipe, check out these answers!
How do I make my Homemade Honey Buns fluffy?
To achieve light and fluffy honey buns, ensure that your dough rises properly before baking or frying. The yeast needs enough time to create air pockets.
Can I use whole wheat flour instead of all-purpose flour?
Yes, you can substitute some or all of the all-purpose flour with whole wheat flour. Just be aware that it may alter the texture slightly.
What is the best way to glaze my honey buns?
For an irresistible glaze, mix powdered sugar with honey, melted butter, vanilla extract, and a pinch of salt until smooth. Drizzle generously over cooled buns.
Can I make these honey buns without yeast?
While traditional recipes rely on yeast for texture, you can explore quick versions using baking powder. However, they won’t have the same flavor profile.
Final Thoughts
These Homemade Honey Buns are not just delightful treats but also incredibly versatile! You can customize them with different fillings or glazes according to your preference. Whether baked or fried, they are sure to please anyone who takes a bite. Try this recipe today and enjoy a warm taste of comfort!
Homemade Honey Bun Recipe (Baked or Fried)
- Total Time: 0 hours
- Yield: Approximately 12 servings 1x
Description
Indulge in the delightful sweetness of our Homemade Honey Bun Recipe, whether baked or fried! These soft, fluffy treats are filled with a gooey cinnamon sugar mixture and topped with a creamy homemade glaze that makes them irresistible. Perfect for breakfast, as a snack, or a special dessert, these honey buns bring the warmth of home baking right to your kitchen. With simple ingredients and easy steps, you’ll create a comforting treat that will remind you of your favorite childhood snacks. Customize them with your choice of toppings or fillings to suit any palate, and enjoy the melt-in-your-mouth texture that is sure to impress family and friends alike.
Ingredients
- 3 cups all-purpose flour
- 3 tablespoons granulated sugar
- 1 tablespoon instant yeast
- 1/2 teaspoon salt
- 1/2 cup warm water (between 105°F-115°F)
- 1/3 cup honey
- 1 large egg
- 1 teaspoon vanilla extract
- 1/4 cup shortening (melted)
- Vegetable or peanut oil (for frying)
- 1/4 cup granulated sugar (for cinnamon sugar filling)
- 1 1/2 teaspoon cinnamon (for cinnamon sugar filling)
- 4 2/3 cup powdered sugar (for glaze)
- 2 1/2 tablespoons honey (for glaze)
- 1 tablespoon melted butter (for glaze)
- 1/2 teaspoon vanilla extract (for glaze)
- 1/4 teaspoon salt (for glaze)
- Warm water (as needed for glaze)
Instructions
- In a large bowl, whisk together the flour, sugar, yeast, and salt; set aside.
- In another bowl, mix warm water, honey, egg, and vanilla extract until well combined; add melted shortening and mix again until combined.
- Using a stand mixer fitted with a dough hook, combine wet ingredients with dry ingredients on low speed until just mixed.
- Increase mixer speed to medium and knead for about 8 minutes until somewhat sticky but workable.
- Shape the dough into a ball and place it in a lightly oiled bowl, turning to coat all sides in oil.
- Cover the bowl with plastic wrap or a clean towel; let it rise in a warm spot for 1 to 2 hours until almost doubled in size.
- Prepare the cinnamon sugar filling by mixing cinnamon and sugar in a small bowl.
- Once risen, turn out the dough onto a floured surface; roll it into an 8” by 12” rectangle and sprinkle with cinnamon-sugar mixture.
- Roll from one long side towards the clean edge tightly, brushing the clean edge with water before sealing.
- Trim off pinched ends and cut into equal one-inch pieces; place on parchment-lined baking sheet allowing space between each piece.
- Press down lightly on each piece before letting them rise again for about 45 minutes until puffy.
- Prep Time: 20 minutes
- Cook Time: Varies based on baking/frying method
- Category: Breakfast/Dessert
- Method: Baking/Frying
- Cuisine: Comfort Food
Nutrition
- Serving Size: 1 serving
- Calories: 210
- Sugar: 10g
- Sodium: 95mg
- Fat: 7g
- Saturated Fat: 2g
- Unsaturated Fat: 4g
- Trans Fat: 0g
- Carbohydrates: 34g
- Fiber: 1g
- Protein: 3g
- Cholesterol: 25mg

