Vanilla Wafers
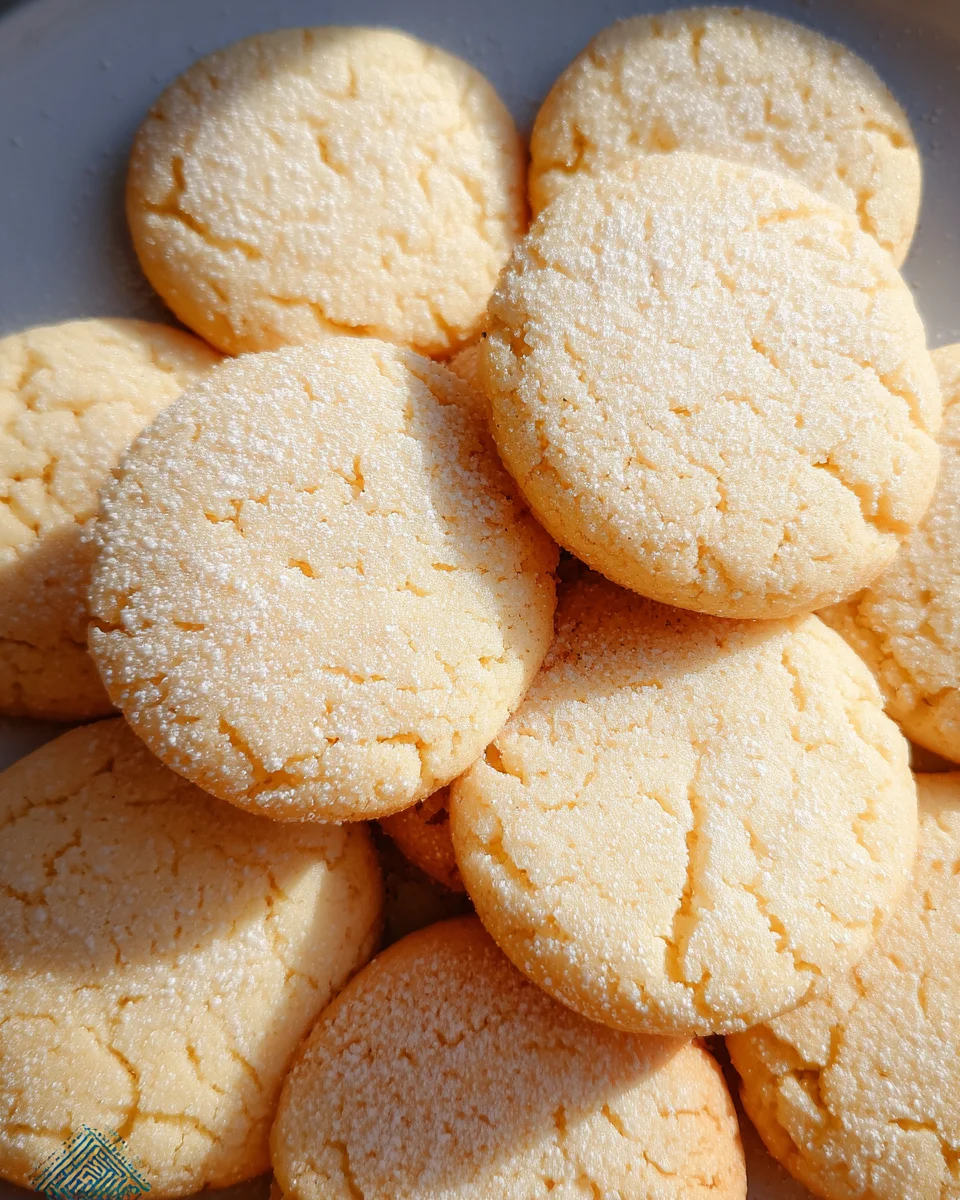
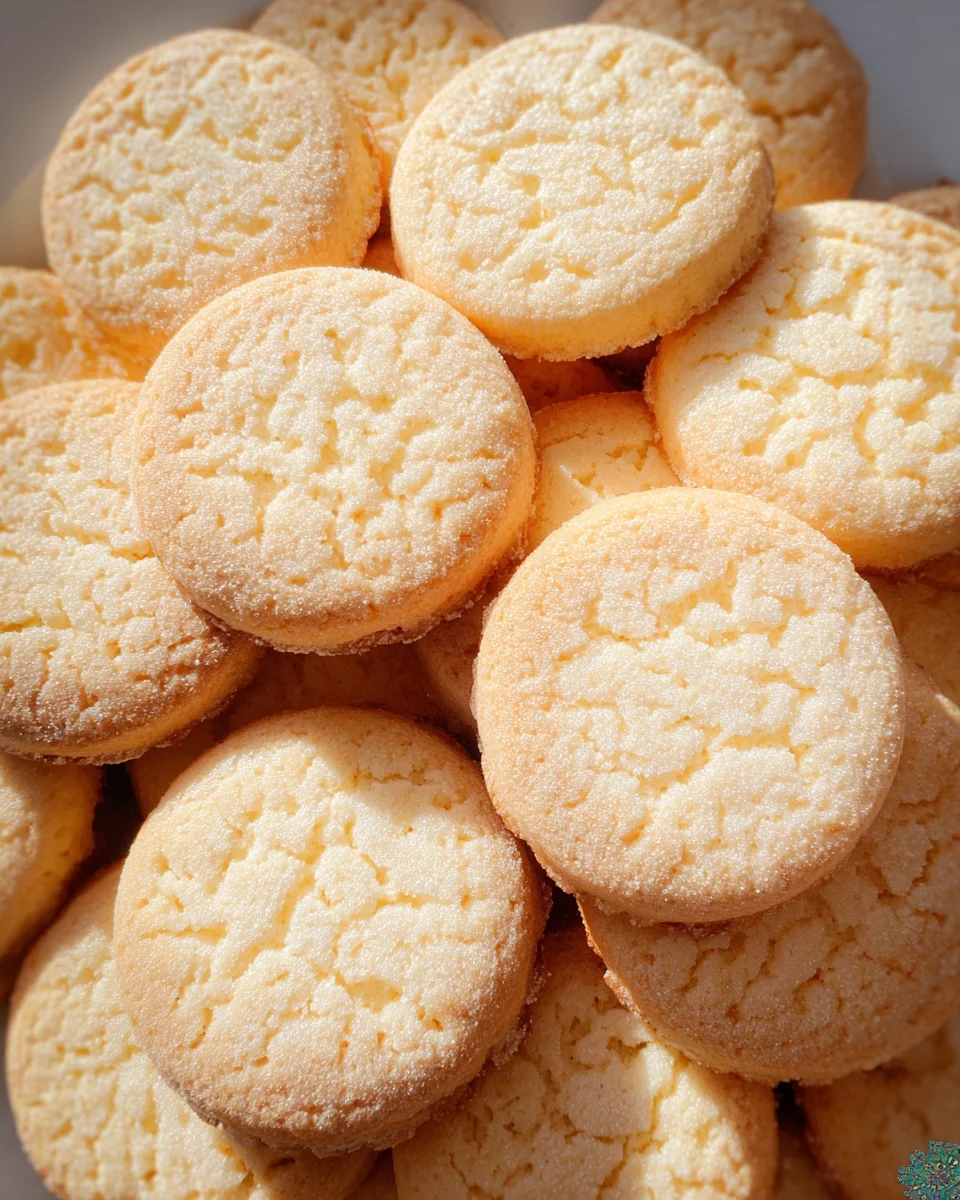
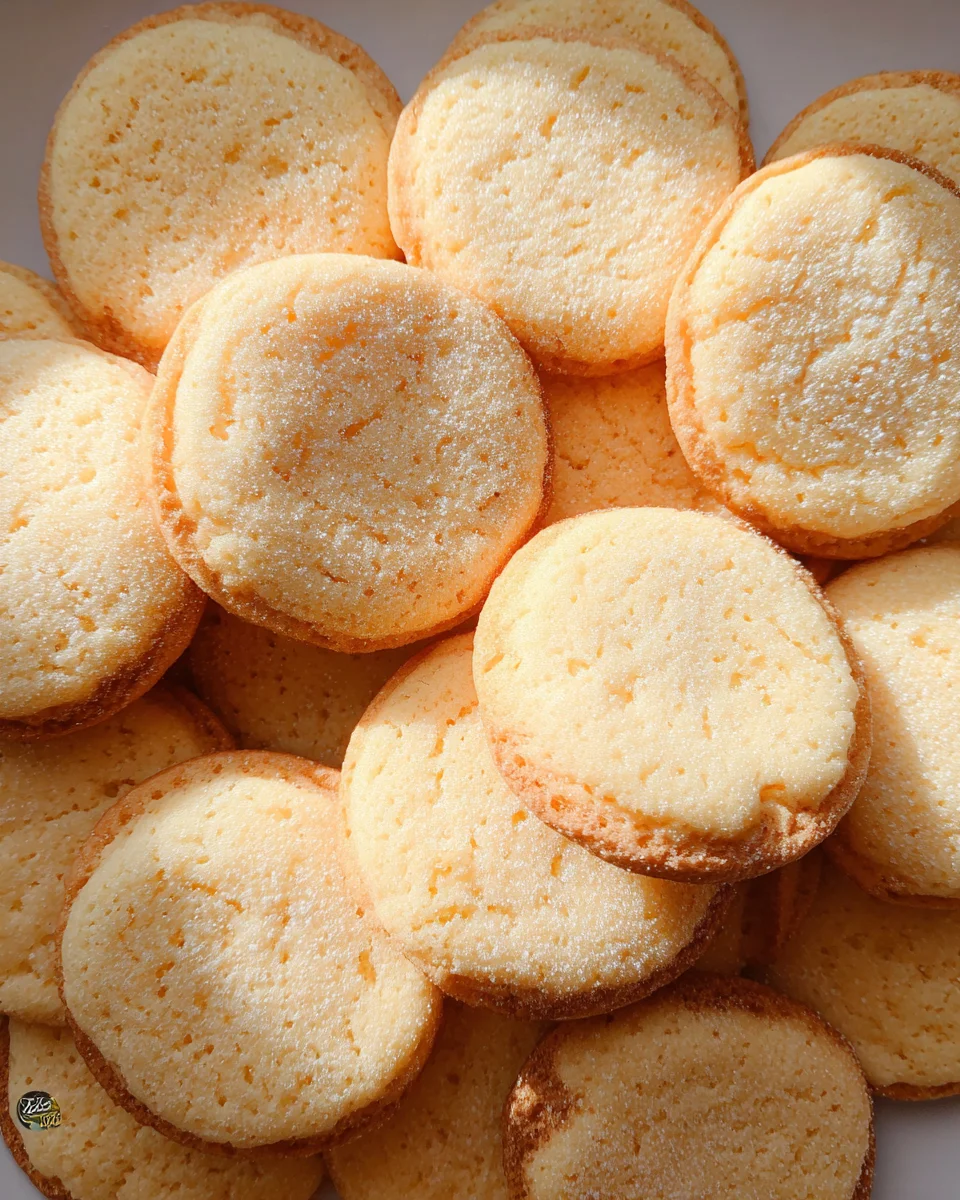
Walk right past the box of vanilla wafers and make your own to enjoy as a snack or with your favorite recipe! Homemade vanilla wafers are not only easy to prepare but also incredibly delicious. These cookies can be used in various desserts, paired with ice cream, or simply enjoyed on their own. Their light and crispy texture makes them a standout treat for any occasion, from casual snacks to festive gatherings.
Why You’ll Love This Recipe
- Easy to Make: With simple ingredients and straightforward steps, this recipe is perfect for bakers of all levels.
- Versatile Use: Enjoy these vanilla wafers as a snack, in desserts, or as a base for trifles and ice cream dishes.
- Delicious Flavor: The combination of butter and vanilla creates a rich, sweet taste that everyone will love.
- Perfectly Crispy: Bake them to golden perfection for a satisfying crunch in every bite.
- Great for Sharing: With about 70 servings, these wafers are perfect for parties, picnics, or family gatherings.
Tools and Preparation
Before you begin making your homemade vanilla wafers, gather your tools. Having everything ready will streamline the process and ensure success.
Essential Tools and Equipment
- Stand mixer
- Mixing bowl
- Baking sheet
- Parchment paper
- Sifter
Importance of Each Tool
- Stand mixer: This tool makes creaming the butter and sugars effortless, ensuring a smooth batter.
- Sifter: Sifting flour helps eliminate lumps and aerates it for lighter cookies.
- Baking sheet: A sturdy baking sheet allows even heat distribution while baking, leading to perfectly cooked vanilla wafers.
Ingredients
Walk right past the box of vanilla wafers and make your own to enjoy as a snack or with your favorite recipe!
For the Cookies
- 1 ½ cups all-purpose flour
- ¾ teaspoon baking powder
- ½ teaspoon Kosher salt
- ½ cup unsalted butter (room temperature)
- ½ cup confectioners’ sugar
- ¼ cup granulated sugar
- 1 large egg (room temperature)
- 1 tablespoon vanilla extract
- 1 tablespoon whole milk
How to Make Vanilla Wafers
Step 1: Preheat the Oven
Preheat your oven to 350°F (175°C). This ensures that your cookies bake evenly.
Step 2: Mix Dry Ingredients
In a medium bowl, sift together the all-purpose flour, baking powder, and Kosher salt. Set this mixture aside for later use.
Step 3: Cream Butter and Sugars
In the bowl of a stand mixer, cream together the unsalted butter, confectioners’ sugar, and granulated sugar. Mix on medium speed for at least 2 minutes. Scrape down the sides as needed to ensure everything is well combined.
Step 4: Add Egg Mixture
Add the large egg, vanilla extract, and whole milk. Blend until smooth and fluffy, which should take about 30 seconds.
Step 5: Combine Dry Ingredients
Gradually add the flour mixture into the wet ingredients. Mix on low speed until everything is fully incorporated.
Step 6: Chill the Batter
Chill the batter in the refrigerator for about 10-15 minutes. This step helps maintain shape during baking.
Step 7: Scoop onto Baking Sheet
Using a small scoop or spoon, place dollops of batter (about 1/2 teaspoon each) onto a baking sheet lined with parchment paper. Space them about 1 inch apart.
Step 8: Bake Cookies
Bake in the preheated oven for 12-15 minutes. Rotate the pan halfway through baking to ensure even browning. The cookies should turn golden brown.
Step 9: Cool Before Serving
Once baked, allow the vanilla wafers to cool completely on a wire rack before serving. Enjoy your delicious homemade treats!
How to Serve Vanilla Wafers
Vanilla wafers are incredibly versatile and can be enjoyed in various ways. Whether you are looking to enhance your dessert spread or simply want a snack, here are some great serving suggestions.
Pair with Fresh Fruits
- Banana Slices: Layer sliced bananas on top of vanilla wafers for a delightful treat.
- Berries: Add fresh strawberries or blueberries for a burst of flavor and color.
Use in Desserts
- Banana Pudding: Create a classic banana pudding by layering vanilla wafers with custard and sliced bananas.
- Ice Cream Sandwiches: Scoop your favorite ice cream between two vanilla wafers for a quick dessert.
As a Snack
- Chocolate Dip: Dip the wafers in melted chocolate for an indulgent snack.
- Nut Butter Spread: Spread almond or peanut butter on the wafers for added protein and flavor.
Garnish Cakes or Cupcakes
- Crushed Topping: Crush vanilla wafers and use them as a topping for cakes or cupcakes for added texture.
- Decorative Layers: Use whole wafers as decorative layers in layered cakes.
How to Perfect Vanilla Wafers
To ensure your homemade vanilla wafers turn out perfectly every time, consider these helpful tips.
- Chill the Batter: Chilling the batter helps to firm it up, making it easier to scoop and achieve a better shape.
- Even Spacing on the Baking Sheet: Place the batter dollops at least one inch apart to prevent them from merging during baking.
- Rotate the Pan: Rotating your baking sheet halfway through baking promotes even cooking for all cookies.
- Watch for Color Change: The cookies should turn golden brown; keep an eye on them to avoid overbaking.
- Cool Completely: Allowing the cookies to cool completely helps them firm up, enhancing their texture.
- Experiment with Flavors: Try adding different extracts or spices like almond or cinnamon to customize your vanilla wafers.
Best Side Dishes for Vanilla Wafers
Vanilla wafers pair wonderfully with a variety of side dishes. Here are some delicious options to complement your homemade treats.
- Fresh Fruit Salad: A mix of seasonal fruits provides a refreshing contrast to the sweetness of the wafers.
- Whipped Cream: Light and fluffy whipped cream enhances the flavor profile when served alongside vanilla wafers.
- Chocolate Fondue: A warm chocolate fondue creates an interactive dessert experience when paired with vanilla wafers for dipping.
- Yogurt Parfait: Layer yogurt, granola, and crushed vanilla wafers for a delightful parfait that’s perfect for breakfast or dessert.
- Pudding Cups: Serve individual pudding cups topped with crushed vanilla wafers for added crunch and flavor.
- Cheese Platter: An assortment of cheeses complements the sweet taste of vanilla wafers, creating an appealing snack board.
Common Mistakes to Avoid
Making your own vanilla wafers is a delightful experience, but a few common mistakes can hinder your results. Here are some pitfalls to watch out for:
- Skipping the chilling step: Failing to chill the batter can lead to cookies that spread too much while baking. Always allow your dough to chill for the recommended time.
- Not measuring flour correctly: Overpacking flour can make your wafers dense. Use the spoon-and-level method for accurate measurement.
- Ignoring oven temperature: Baking at too high or low temperatures can result in unevenly baked wafers. Always preheat your oven and use an oven thermometer if necessary.
- Using cold ingredients: Cold butter and eggs affect the texture of your wafers. Be sure to bring them to room temperature before mixing.
- Overmixing the batter: Mixing too long can develop gluten, leading to tough wafers. Mix until just combined for the best texture.
Storage & Reheating Instructions
Refrigerator Storage
- Store in an airtight container.
- Vanilla wafers can last up to one week in the refrigerator.
Freezing Vanilla Wafers
- Place cooled wafers in a freezer-safe bag or container.
- They can be frozen for up to three months. Label with the date for reference.
Reheating Vanilla Wafers
- Oven: Preheat to 350°F and bake for about 5 minutes, until warm.
- Microwave: Heat on low power for 10-15 seconds at a time, checking frequently.
- Stovetop: Warm in a skillet over low heat for a few minutes until soft.
Frequently Asked Questions
Here are some common questions about making vanilla wafers:
How do I make my vanilla wafers crispier?
Adding a little more granulated sugar can help achieve that lovely crispiness everyone loves.
Can I substitute ingredients in vanilla wafers?
Yes, you can use alternatives like coconut flour or dairy-free butter, but this may change the texture slightly.
What are some uses for vanilla wafers?
Vanilla wafers work great in desserts like banana pudding or as a simple snack on their own!
How long do homemade vanilla wafers last?
When stored properly, they should stay fresh for about a week in the refrigerator or three months if frozen.
Final Thoughts
Homemade vanilla wafers are not only easy to make but also incredibly versatile! You can enjoy them plain, dip them in chocolate, or use them as a base for delicious desserts. Feel free to customize this recipe by adding spices or flavor extracts to suit your taste!
Homemade Vanilla Wafers
- Total Time: 30 minutes
- Yield: About 70 servings 1x
Description
Indulge in the delightful experience of homemade Vanilla Wafers, a classic treat that is both simple to make and absolutely delicious. These light and crispy cookies are perfect for snacking or enhancing your favorite desserts. Whether enjoyed on their own or used as a base for banana pudding or ice cream sandwiches, these wafers are sure to impress at any gathering. With just a few pantry staples, you can create a batch of irresistible cookies that bring comfort and joy to your table.
Ingredients
- 1 ½ cups all-purpose flour
- ¾ teaspoon baking powder
- ½ teaspoon Kosher salt
- ½ cup unsalted butter (room temperature)
- ½ cup confectioners' sugar
- ¼ cup granulated sugar
- 1 large egg (room temperature)
- 1 tablespoon vanilla extract
- 1 tablespoon whole milk
Instructions
- Preheat the oven to 350°F (175°C) and line a baking sheet with parchment paper.
- In a bowl, sift together flour, baking powder, and salt; set aside.
- Cream butter, confectioners' sugar, and granulated sugar in a stand mixer until smooth.
- Add the egg, vanilla extract, and milk; mix until fluffy.
- Gradually incorporate the dry ingredient mixture until combined.
- Chill the batter for 10-15 minutes.
- Scoop dollops of batter onto the prepared baking sheet, spacing them about one inch apart.
- Bake for 12-15 minutes until golden brown. Allow cooling on a wire rack before serving.
- Prep Time: 15 minutes
- Cook Time: 15 minutes
- Category: Dessert
- Method: Baking
- Cuisine: American
Nutrition
- Serving Size: 1 cookie (11g)
- Calories: 50
- Sugar: 2g
- Sodium: 25mg
- Fat: 2g
- Saturated Fat: 1g
- Unsaturated Fat: 0.5g
- Trans Fat: 0g
- Carbohydrates: 8g
- Fiber: <1g
- Protein: <1g
- Cholesterol: 10mg

