
Baked Cheesy Grits
Baked Cheesy Grits are a delightful dish that perfectly combines creamy texture with a rich, cheesy flavor. This Southern comfort food is great for any occasion, from family gatherings to brunch with friends. The ease of preparation and the irresistible taste make it a perfect side dish or even a hearty breakfast option. You’ll find that these grits stand out with their comforting warmth and cheesy goodness.

Why You’ll Love This Recipe
- Easy to Make: With simple ingredients and straightforward steps, this recipe is perfect for cooks of all skill levels.
- Flavorful: The addition of sharp white cheddar and a hint of cayenne pepper elevates the flavor profile, making each bite delicious.
- Versatile Side Dish: Baked Cheesy Grits pair well with proteins like chicken or shrimp, making them suitable for various meals.
- Comfort Food Classic: This recipe embodies the essence of Southern cooking, providing warmth and satisfaction in every serving.
- Make Ahead Option: You can prepare these grits in advance and simply bake them before serving, saving you time on busy days.
Tools and Preparation
To create the perfect Baked Cheesy Grits, you’ll need some essential tools. Having the right equipment will make your cooking experience smoother and more enjoyable.
Grab This Chef Knife Now - Almost Gone!
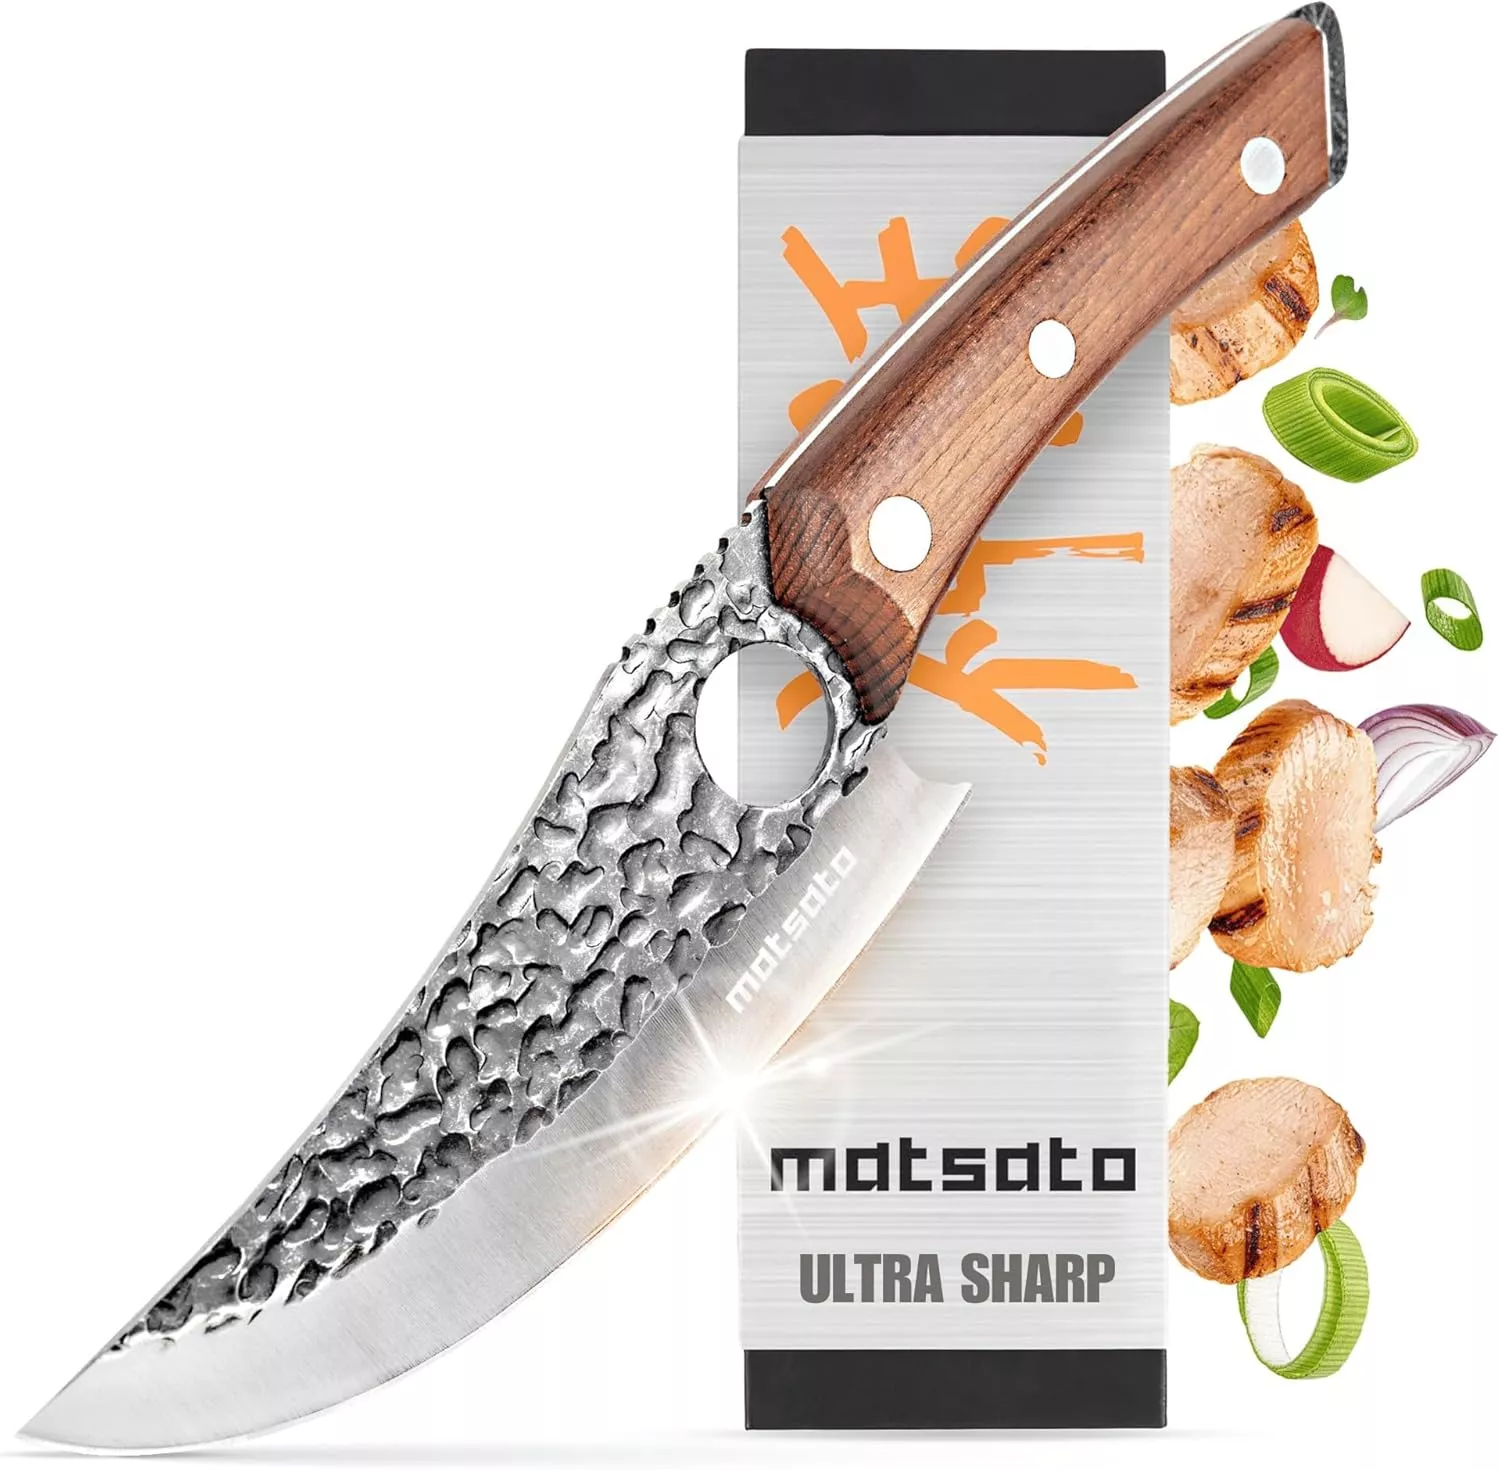
- Stays Razor-Sharp: Ice-hardened blade keeps its edge longer than ordinary knives
- Superior Grip Control: Unique finger hole design gives you perfect balance and safety
- Built to Last a Lifetime: Premium stainless steel blade with elegant beech wood handle
Customer Reviews ★★★★★
Essential Tools and Equipment
- 9 by 9-inch baking dish
- Saucepan
- Wooden spoon or whisk
- Measuring cups and spoons
Importance of Each Tool
- 9 by 9-inch baking dish: Ideal for even cooking of the cheesy grits, ensuring a golden top layer.
- Saucepan: Necessary for properly combining ingredients over heat to achieve creamy grits.
- Wooden spoon or whisk: Helps in stirring the mixture thoroughly to avoid lumps in your grits.
Ingredients
For the Baked Cheesy Grits
- 2 tablespoons butter, divided
- 6 cups whole milk (any milk will work)
- 1 teaspoon salt
- 1/4 teaspoon cayenne pepper
- 2 cups instant white grits
- 2 cups grated sharp white Cheddar, divided
How to Make Baked Cheesy Grits
Step 1: Preheat the Oven
Preheat your oven to 350 degrees F. This step is crucial for achieving the perfect baked texture.
Step 2: Prepare the Baking Dish
Lightly grease a 9 by 9-inch baking dish or an equivalent size with 1 tablespoon of the butter. This prevents sticking and ensures easy serving.
Step 3: Cook the Grits Mixture
Heat a saucepan over medium heat. Add the milk, salt, cayenne pepper, and remaining tablespoon of butter. Bring this mixture to a boil while stirring gently.
Step 4: Add Grits
Once boiling, gradually stir in the instant white grits. Reduce heat to medium-low and continue stirring for about 30 seconds. Allow it to simmer uncovered for 6 to 8 minutes until tender and creamy.
Step 5: Incorporate Cheese
Remove from heat and add one cup of grated sharp white cheddar. Stir until melted and fully combined into the mixture.
Step 6: Bake
Pour the creamy grits into your prepared baking dish. Sprinkle the remaining cheese on top. Bake in the preheated oven for 20 to 25 minutes until cheese is melted and slightly golden on top.
Serve hot as a comforting side or hearty breakfast option!
How to Serve Baked Cheesy Grits
Baked cheesy grits are a versatile dish that can complement many meals. Their creamy texture and rich flavor make them perfect for any occasion.
As a Breakfast Side
- Pair with eggs: Serve alongside scrambled or poached eggs for a hearty breakfast.
- Add bacon: Crispy bacon bits can enhance the flavor and add crunch.
With Southern Dishes
- Fried chicken: The creaminess of the grits balances the crispy texture of fried chicken.
- Shrimp and grits: A classic combination, the shrimp adds protein and seafood flavor.
For Casual Gatherings
- As an appetizer: Spoon into small bowls for guests to enjoy as finger food.
- Accompaniment to BBQ: The cheesy richness pairs well with smoky barbecue flavors.
With Salads
- On the side of greens: Serve with a fresh salad to lighten up the meal.
- With roasted vegetables: The grits complement the sweetness of roasted veggies.

How to Perfect Baked Cheesy Grits
To make your baked cheesy grits even better, consider these helpful tips:
- Choose quality cheese: Use sharp white cheddar for a bold flavor that stands out in your dish.
- Stir constantly: This ensures that the grits become creamy and don’t stick to the bottom of the pan.
- Adjust seasoning: Taste before baking; feel free to add more salt or cayenne if desired.
- Don’t rush baking: Allow enough time for cheese to melt and become golden for that perfect finish.
Best Side Dishes for Baked Cheesy Grits
Baked cheesy grits can shine even brighter when paired with complementary side dishes. Here are some great options:
- Collard Greens: A classic Southern side, they add a nutritious touch and balance flavors.
- Cornbread: Moist and slightly sweet, cornbread works beautifully with cheesy grits.
- Fried Green Tomatoes: Their tartness contrasts nicely with creamy grits, providing texture and flavor.
- Roasted Asparagus: Lightly seasoned asparagus adds freshness and complements the richness of the grits.
- Spicy Sausage Links: The heat from spicy sausage enhances the overall flavor profile of your meal.
- Macaroni and Cheese: For a double dose of comfort food, serve alongside rich mac and cheese for extra indulgence.
Common Mistakes to Avoid
When making Baked Cheesy Grits, it’s easy to run into some common pitfalls. Here are a few mistakes to watch out for:
- Using the wrong type of grits: Instant grits are best for this recipe. Avoid using stone-ground grits, as they require longer cooking times and may not yield the creamy texture you want.
- Not measuring ingredients: Accurate measurements are crucial. Use a kitchen scale or measuring cups to ensure you get the right amount of milk and cheese for perfect consistency.
- Skipping the stirring step: Stirring continuously while cooking is important to prevent lumps. Make sure to keep the mixture moving for even cooking.
- Overbaking: While you want the cheese to melt and be slightly golden, overbaking can lead to dry grits. Keep an eye on them during the last few minutes in the oven.
- Not letting it rest: Allowing your Baked Cheesy Grits to sit for a few minutes after baking helps set the dish and makes serving easier.
Refrigerator Storage
- Store leftover Baked Cheesy Grits in an airtight container.
- They can be kept in the refrigerator for up to 3 days.
Freezing Baked Cheesy Grits
- For longer storage, freeze Baked Cheesy Grits in a freezer-safe container.
- They can be frozen for up to 2 months.
Reheating Baked Cheesy Grits
- Oven: Preheat your oven to 350°F (175°C). Place the grits in an oven-safe dish, cover with foil, and heat for about 20-25 minutes until warmed through.
- Microwave: Transfer a portion into a microwave-safe bowl. Heat on medium power in 1-minute intervals, stirring between each until heated thoroughly.
- Stovetop: Add a splash of milk or water and reheat over low heat while stirring frequently until hot.
Frequently Asked Questions
What are Baked Cheesy Grits?
Baked Cheesy Grits are a creamy Southern comfort food made from grits mixed with cheese and baked until golden and bubbly.
Can I use different types of cheese?
Yes! While sharp white cheddar is traditional, feel free to experiment with other cheeses like Monterey Jack or Gouda for varied flavors.
How can I customize my Baked Cheesy Grits?
You can add ingredients like cooked bacon, sautéed vegetables, or spices like garlic powder for added flavor.
How do I store leftover Baked Cheesy Grits?
Store leftovers in an airtight container in the refrigerator for up to 3 days or freeze them for up to 2 months.
Final Thoughts
Baked Cheesy Grits are not only delicious but also versatile. This dish pairs well with various meats or can stand alone as a hearty side. Feel free to customize it with your favorite ingredients and enjoy its comforting flavors!

Baked Cheesy Grits
- Total Time: 45 minutes
- Yield: Serves 8
Description
Baked Cheesy Grits are the epitome of Southern comfort food, offering a luscious blend of creamy grits and sharp white cheddar cheese baked to golden perfection. This dish is not only easy to prepare but also versatile enough to serve as a side at family gatherings or as a hearty breakfast option. With just a handful of ingredients and simple steps, you can indulge in this deliciously cheesy experience that warms the soul. Whether paired with fried chicken, shrimp, or enjoyed on its own, Baked Cheesy Grits are sure to impress at any meal.
Ingredients
- 2 tablespoons butter
- 6 cups whole milk
- 1 teaspoon salt
- 1/4 teaspoon cayenne pepper
- 2 cups instant white grits
- 2 cups grated sharp white cheddar
Instructions
- Preheat your oven to 350°F (175°C).
- Grease a 9 by 9-inch baking dish with 1 tablespoon of butter.
- In a saucepan over medium heat, combine milk, salt, cayenne pepper, and the remaining butter. Bring to a boil while stirring gently.
- Gradually add the grits and reduce heat to medium-low. Stir for about 30 seconds and let simmer uncovered for 6 to 8 minutes until creamy.
- Remove from heat and stir in one cup of grated cheddar until melted.
- Pour the mixture into the prepared baking dish and top with remaining cheese. Bake for 20 to 25 minutes until bubbly and golden.
- Prep Time: 15 minutes
- Cook Time: 30 minutes
- Category: Side Dish
- Method: Baking
- Cuisine: Southern
Nutrition
- Serving Size: 1 piece (approx. 150g)
- Calories: 320
- Sugar: 6g
- Sodium: 600mg
- Fat: 18g
- Saturated Fat: 10g
- Unsaturated Fat: 7g
- Trans Fat: 0g
- Carbohydrates: 30g
- Fiber: 1g
- Protein: 10g
- Cholesterol: 45mg


