
Halloween Brownies
These Halloween Brownies are the ultimate spooky treat for your Halloween festivities! With their delightful chocolate flavor and whimsical decorations, they make a perfect addition to any party. Easy to prepare and fun to decorate, these brownies are sure to impress guests of all ages. Whether it’s a Halloween gathering or just a fun dessert night with family, these graveyard-themed brownies will bring the holiday spirit to your table.

Why You’ll Love This Recipe
- Fun Decorations: Create an enchanting graveyard scene that will amaze your guests.
- Simple Preparation: This recipe is easy enough for bakers of all skill levels.
- Crowd-Pleaser: The rich chocolate flavor is loved by kids and adults alike.
- Versatile Treat: Perfect for Halloween parties, school events, or cozy family gatherings.
- Quick to Make: Prep time is only 10 minutes, so you can whip these up in no time.
Tools and Preparation
Before diving into the delicious world of Halloween brownies, make sure you have the right tools on hand. Having the essential kitchen equipment will help streamline your baking process.
Grab This Chef Knife Now - Almost Gone!
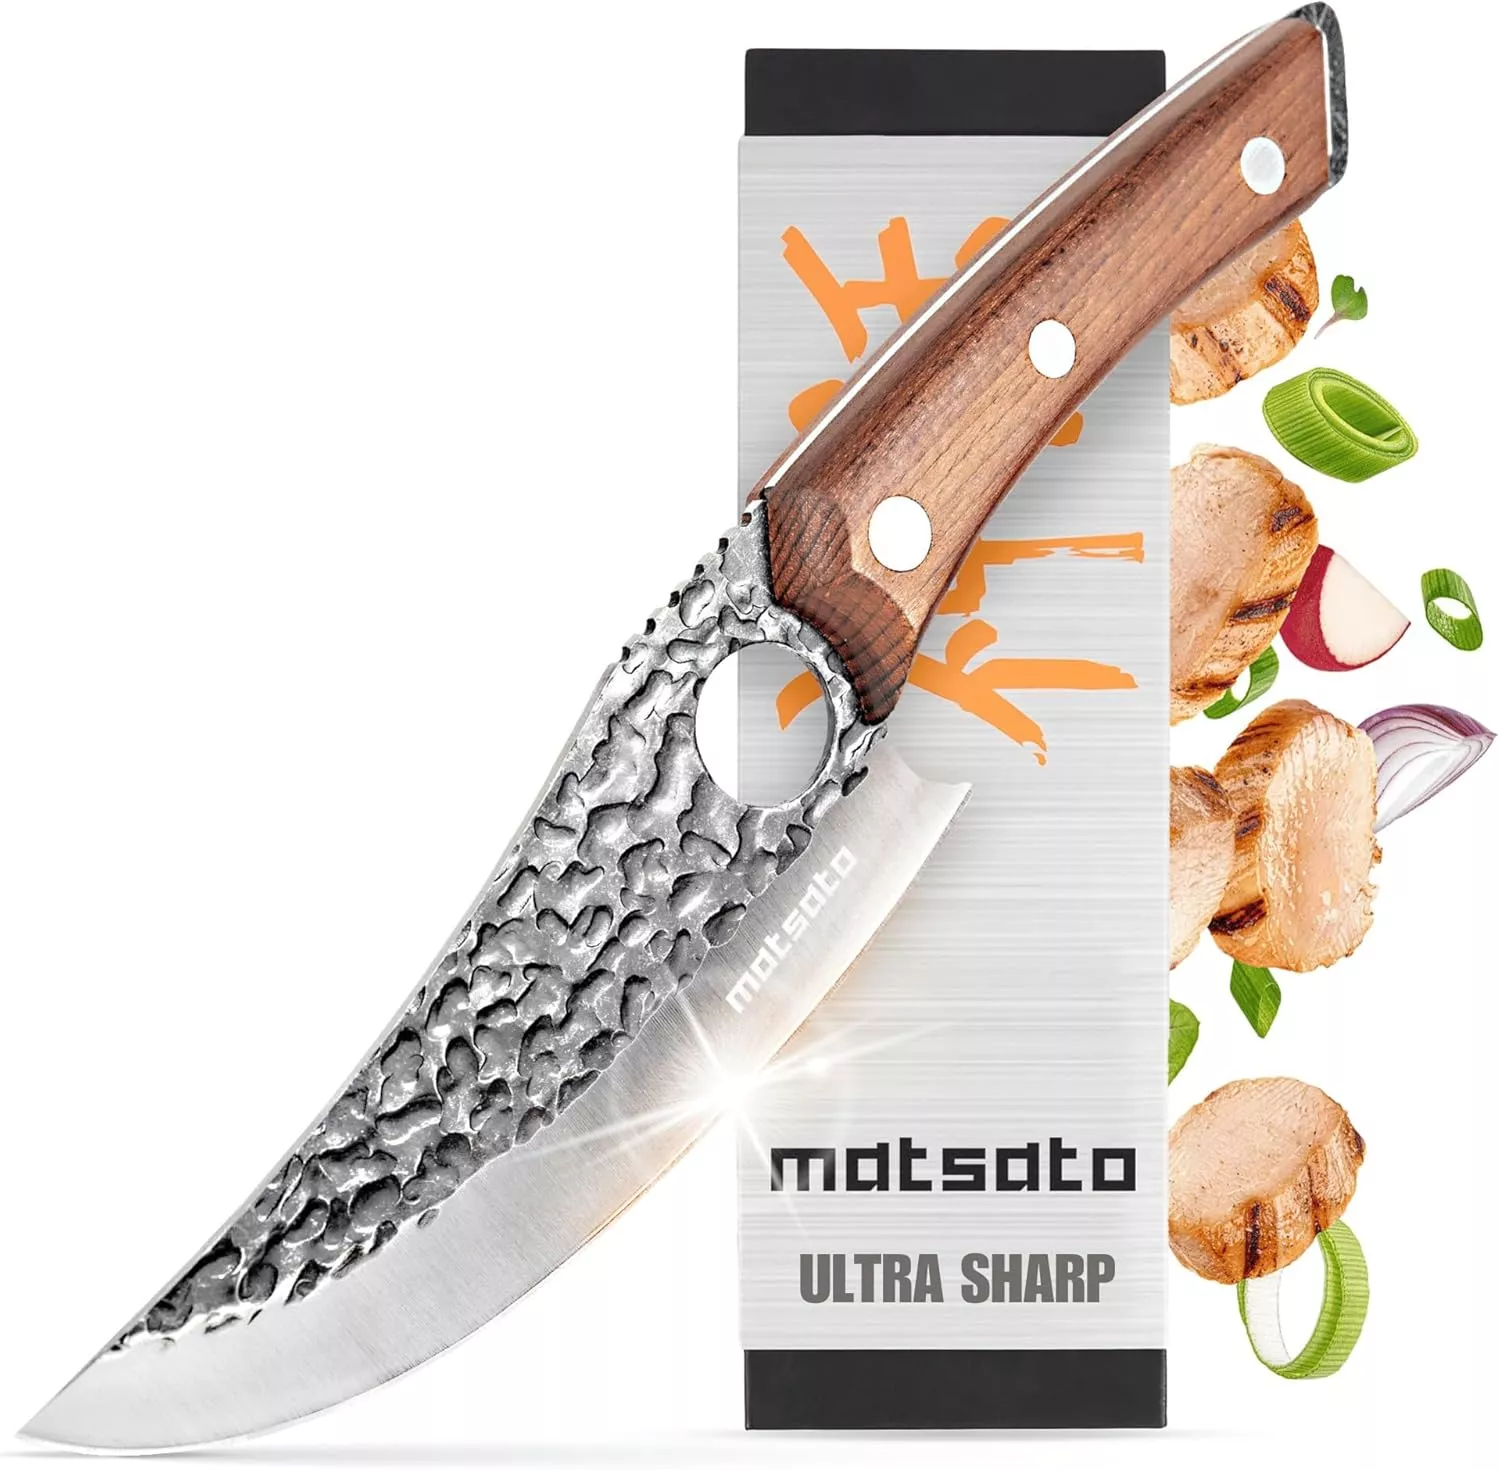
- Stays Razor-Sharp: Ice-hardened blade keeps its edge longer than ordinary knives
- Superior Grip Control: Unique finger hole design gives you perfect balance and safety
- Built to Last a Lifetime: Premium stainless steel blade with elegant beech wood handle
Customer Reviews ★★★★★
Essential Tools and Equipment
- 8” baking pan
- Parchment paper
- Mixing bowl
- Electric mixer or whisk
- Edible gel pen
Importance of Each Tool
- 8” baking pan: This size is perfect for evenly baking your brownie batter without overflow.
- Parchment paper: It prevents sticking and makes it easy to lift the brownies out after baking.
- Mixing bowl: A sturdy bowl helps mix frosting ingredients thoroughly for a smooth texture.
- Electric mixer or whisk: An electric mixer speeds up the process of making fluffy frosting.
Ingredients
These easy Graveyard Halloween Brownies are the perfect fun and spooky treat for a party! All you need is chocolate brownies, milano cookies, candy pumpkins, and a little frosting.
For the Brownies
- Prepared brownie batter for an 8” pan
For the Decorations
- 12 milano cookies
- Black decorating gel
For the Frosting
- 12 candy pumpkins
- 1 cup powdered sugar
- 1/4 cup butter (salted or unsalted), softened
- 2 teaspoons milk
- green food coloring (a few drops, to reach your desired color)
How to Make Halloween Brownies
Step 1: Prepare Your Pan
Line an 8” baking pan with parchment paper, leaving a little bit of overhang on the sides so that you’ll be able to easily pull the brownies out of the pan.
Step 2: Bake the Brownies
Pour brownie batter into the prepared pan and smooth it into an even layer. Bake according to recipe instructions.
Step 3: Cool and Cut
Allow brownies to cool completely. Pull up on the parchment paper and transfer the brownies to a flat surface. Cut the brownies into rectangles (I cut mine 4 x 3 to make 12 rectangle brownies).
Step 4: Make Frosting
Mix all of the frosting ingredients together in a bowl. Mix for about 2 minutes until light and fluffy. Adjust consistency as needed with more powdered sugar or milk. Mix in a few drops of green food coloring. Set aside.
Step 5: Decorate Cookies
Use the black (edible) gel pen to write R-I-P on top of each milano cookie. You may also trim the bottom edge off your cookies if desired.
Step 6: Assemble Graves
Press each cookie into the top of a brownie rectangle as if it were a grave headstone.
Step 7: Add Final Touches
Spoon a little green frosting near each headstone and place a pumpkin candy on top.
Enjoy your spooky masterpiece! These Halloween brownies are sure to be a hit at any gathering!
How to Serve Halloween Brownies
These Graveyard Halloween Brownies are not only delicious but also visually engaging, making them perfect for any Halloween gathering. Here are some fun serving suggestions to elevate your spooky dessert experience.
Individual Treat Bags
- Use small clear bags to portion out brownies for guests. Tie with a festive ribbon for an easy grab-and-go treat.
Brownie Sundae Bar
- Set up a sundae bar with toppings like whipped cream, chocolate sauce, and sprinkles. Let guests customize their own brownie sundaes.
Halloween-Themed Plates
- Serve brownies on themed plates featuring ghosts or pumpkins. It adds a festive touch to your dessert table.
Pair with Dairy
- Serve with a glass of milk or pumpkin spice latte to balance the rich chocolate flavor of the brownies.
Decorative Serving Tray
- Arrange the brownies on a spooky-themed tray, perhaps with fake spider webs or plastic spiders for added effect.
Fun Cupcake Liners
- Place each brownie in colorful cupcake liners. This adds color and makes serving easier while keeping everything neat.

How to Perfect Halloween Brownies
Achieving the best Halloween brownies is simple with a few expert tips. Follow these suggestions for perfect results every time!
- Use quality ingredients: Choose high-quality chocolate and cocoa powder for rich flavor.
- Don’t overbake: Keep an eye on baking time. Overbaking can lead to dry brownies; they should be fudgy in the center.
- Let them cool completely: Allowing brownies to cool helps them set properly, making cutting easier and cleaner.
- Experiment with toppings: Get creative! Consider adding crushed candy bars or nuts for extra texture and flavor.
- Store correctly: Keep leftover brownies in an airtight container at room temperature to maintain freshness.
- Make ahead: Brownies can be made a day in advance; just wait until they are completely cool before storing.
Best Side Dishes for Halloween Brownies
Serving side dishes alongside your Halloween Brownies can create a more complete dessert experience. Here are some great options:
- Ghostly Meringues: Light meringue cookies shaped like ghosts add a fun element and contrast nicely with the rich brownies.
- Pumpkin Spice Ice Cream: Creamy pumpkin ice cream pairs perfectly with chocolate flavors, enhancing the fall theme.
- Creepy Crawly Fruit Salad: A mix of seasonal fruits like oranges and grapes can be dressed up with gummy worms for a spooky touch.
- Witch’s Brew Hot Chocolate: A warm cup of hot chocolate garnished with marshmallows makes a comforting addition to the dessert table.
- Spooky Cheese Platter: Include cheeses shaped like bats or pumpkins, offering savory bites between sweet treats.
- Candy Corn Cupcakes: These colorful cupcakes bring festive flair and sweetness that harmonizes well with the brownies.
- Halloween Trail Mix: Combine nuts, pretzels, and seasonal candies for a crunchy side that guests can munch on throughout the party.
- Chilling Cherry Punch: A vibrant cherry punch served in spooky cups can refresh guests while adding color to your table setup.
Common Mistakes to Avoid
Baking Halloween brownies can be a fun activity, but there are common pitfalls to avoid for the best results.
- Skipping the cooling step: Allowing the brownies to cool completely before cutting is crucial. This prevents them from crumbling and helps maintain their shape.
- Not using parchment paper: Lining your baking pan with parchment paper makes it easy to lift the brownies out. Skipping this step can lead to messy removal and broken pieces.
- Overmixing frosting: Mixing the frosting too long can cause it to become too airy or thin. Mix just until fluffy for the best texture.
- Ignoring ingredient temperature: Make sure butter is softened but not melted for the frosting. Using cold ingredients can lead to a lumpy consistency.
- Forgetting decorating details: Don’t overlook the fun details! Adding decorations like candy pumpkins enhances both appearance and taste, making your brownies more festive.

Storage & Reheating Instructions
Refrigerator Storage
- Store brownies in an airtight container.
- They will last up to 5 days in the refrigerator.
Freezing Halloween Brownies
- Wrap brownies tightly in plastic wrap or aluminum foil before placing them in a freezer-safe bag.
- They can be frozen for up to 3 months.
Reheating Halloween Brownies
- Oven: Preheat to 350°F (175°C). Place brownies on a baking sheet and heat for about 10 minutes.
- Microwave: Heat individual servings for 10-15 seconds until warm.
- Stovetop: Place brownies in a skillet over low heat, covering with a lid for about 5 minutes.
Frequently Asked Questions
Here are some common questions about making Halloween brownies.
Can I use store-bought brownie mix for Halloween Brownies?
Yes, using a store-bought brownie mix is perfectly fine! Just follow package instructions and proceed with decorating as outlined.
What is the best way to decorate my Halloween Brownies?
The best way is to use milano cookies as headstones, black gel for inscriptions, and colorful candy pumpkins. Get creative with your designs!
How do I make my Halloween Brownies more festive?
Consider adding sprinkles or edible glitter along with your decorations for an extra festive touch. This will enhance their visual appeal!
Can I customize the flavors of these Halloween Brownies?
Absolutely! You can add nuts, chocolate chips, or even flavored extracts like mint or orange zest for a unique twist on classic brownies.
How should I store leftover Halloween Brownies?
Store any leftover brownies in an airtight container at room temperature or refrigerate them if you prefer a firmer texture.
Final Thoughts
These Graveyard Halloween Brownies are not only spooky but also deliciously tempting. Their simple preparation makes them perfect for any gathering. Feel free to customize with different candies or colors to match your theme. Enjoy creating these delightful treats that will surely impress your friends and family!

Halloween Brownies
- Total Time: 0 hours
- Yield: Makes about 12 servings 1x
Description
Get ready to impress your guests with these delightful Halloween Brownies! With rich chocolate flavor and whimsical graveyard decorations, they’re the perfect addition to your Halloween festivities. Easy to prepare and fun to customize, these brownies are sure to be a hit at any gathering. Whether you’re hosting a spooky celebration or enjoying a cozy family dessert night, these festive treats will bring joy and excitement to your table.
Ingredients
- 1 batch of prepared brownie batter for an 8'' pan
- 12 Milano cookies
- Black decorating gel
- 12 candy pumpkins
- 1 cup powdered sugar
- 1/4 cup butter (softened)
- 2 teaspoons milk
- Green food coloring (a few drops)
Instructions
- Preheat the oven and prepare an 8'' baking pan by lining it with parchment paper.
- Pour the brownie batter into the pan and bake according to package instructions.
- Once baked, cool the brownies completely before cutting them into rectangles.
- In a mixing bowl, combine powdered sugar, softened butter, milk, and green food coloring; mix until fluffy for the frosting.
- Decorate Milano cookies with black gel, writing 'RIP' on each cookie.
- Insert each cookie into a brownie piece as if creating headstones in a graveyard.
- Add green frosting around each cookie and top with candy pumpkins.
- Prep Time: 10 minutes
- Cook Time: Approximately 25 minutes
- Category: Dessert
- Method: Baking
- Cuisine: American
Nutrition
- Serving Size: 1 serving
- Calories: 210
- Sugar: 18g
- Sodium: 150mg
- Fat: 10g
- Saturated Fat: 5g
- Unsaturated Fat: 4g
- Trans Fat: 0g
- Carbohydrates: 28g
- Fiber: 1g
- Protein: 3g
- Cholesterol: 15mg


