
Rice Krispie Pumpkins
Make fall fun with these easy-to-make Rice Krispie Pumpkins! These no-bake treats are perfect for Halloween parties, school events, or a cozy family gathering. Their vibrant orange color and cute pumpkin shape make them a standout dessert that kids will love to help create and indulge in. With just a few simple ingredients, you can whip up these delightful treats to celebrate the season.

Why You’ll Love This Recipe
- Quick and Easy: The Rice Krispie Pumpkins come together in under 30 minutes, making them a perfect last-minute treat.
- Kid-Friendly Fun: Kids can help shape the pumpkins and add decorations, turning dessert-making into an enjoyable activity.
- No Baking Required: Skip the oven! These treats are made on the stovetop for minimal fuss.
- Customizable Colors: Use different gel food colors to create various shades of pumpkins or get creative with other themes.
- Perfect for Any Occasion: Whether it’s Halloween or a fall gathering, these treats add a festive touch to any event.
Tools and Preparation
To make your Rice Krispie Pumpkins, you’ll need some essential kitchen tools to ensure everything goes smoothly.
Grab This Chef Knife Now - Almost Gone!
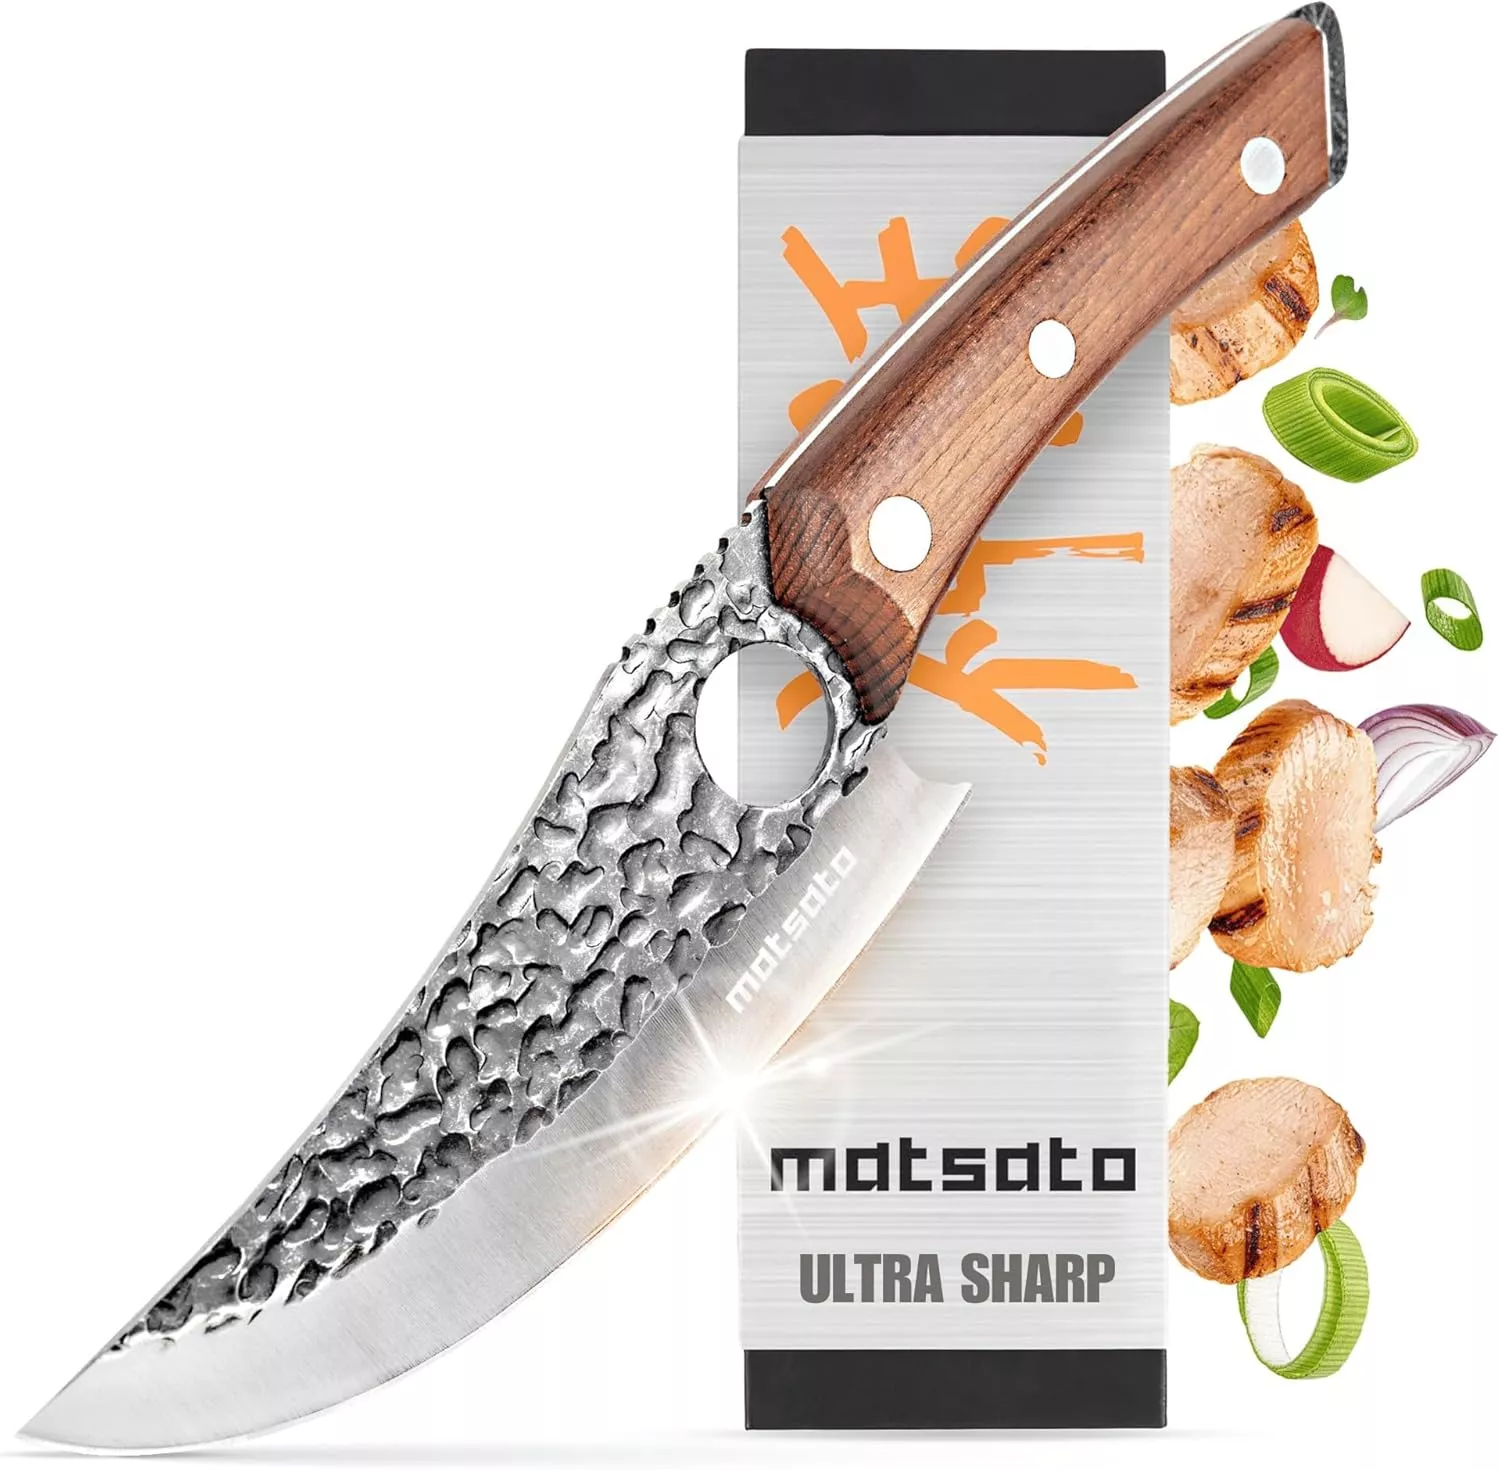
- Stays Razor-Sharp: Ice-hardened blade keeps its edge longer than ordinary knives
- Superior Grip Control: Unique finger hole design gives you perfect balance and safety
- Built to Last a Lifetime: Premium stainless steel blade with elegant beech wood handle
Customer Reviews ★★★★★
Essential Tools and Equipment
- Large pot
- Wooden spoon
- Measuring cups
- Non-stick cooking spray
- Baking sheet
Importance of Each Tool
- Large pot: A spacious pot allows for easy mixing of marshmallows and Rice Krispies without splattering.
- Wooden spoon: Sturdy enough to handle thick mixtures, ensuring even stirring as you melt the marshmallows.
- Non-stick cooking spray: Prevents the mixture from sticking to your hands when forming the pumpkin shapes.
Ingredients
For the Treats
- 6 cups Rice Krispies Cereal
- 6 cups Miniature Marshmallows
- 3 tablespoons Unsalted Butter
- Orange Gel Food Coloring
For Decoration
- 10 Tootsie Roll Candies
- 10 Green M&M Candies
How to Make Rice Krispie Pumpkins
Step 1: Melt the Butter
In a large pot, melt the unsalted butter over medium heat until fully melted.
Step 2: Add Marshmallows
Once the butter is melted, add in the miniature marshmallows. Cook over medium heat while stirring frequently until completely melted and smooth.
Step 3: Color the Mixture
Remove the pot from heat. Stir in ½ teaspoon of orange gel food coloring, mixing until evenly incorporated. If you desire a brighter color, feel free to add more gel coloring.
Step 4: Combine with Rice Krispies
Add in rice krispies cereal, stirring gently until all pieces are well-coated with the marshmallow mixture and color is uniformly distributed.
Step 5: Form Pumpkin Shapes
Spray your hands with non-stick cooking spray. Take portions of the mixture and form them into about 10 large balls resembling pumpkins.
Step 6: Decorate Your Pumpkins
Insert one Tootsie Roll Candy upright into each pumpkin ball as a stump. Top off each pumpkin with one green M&M Candy for a cute leaf effect.
Step 7: Let Them Set
Allow your Rice Krispie Pumpkins to set at room temperature for about one hour before serving. Enjoy your festive treats!
How to Serve Rice Krispie Pumpkins
These adorable Rice Krispie Pumpkins are not only fun to make but also delightful to serve at any gathering. Here are some creative ways to enjoy them!
For Halloween Parties
- Serve these treats on a festive platter adorned with spider webs and mini pumpkins for a spooky vibe.
- Pair them with themed drinks like orange punch or apple cider for a complete Halloween experience.
As Classroom Treats
- Wrap each Rice Krispie Pumpkin in clear cellophane and tie with orange ribbons for a cute treat to share with classmates.
- Consider including a small note about the ingredients for allergies.
At Fall Gatherings
- Place these pumpkins in a basket lined with autumn leaves for an inviting centerpiece at any fall event.
- Combine them with other fall-themed snacks like caramel apples or pumpkin pie bites.
As Party Favors
- Package individual Rice Krispie Pumpkins in small boxes or bags, making great take-home treats for guests.
- Add personalized labels thanking guests for celebrating the season together.
During Family Movie Nights
- Serve these treats alongside popcorn and seasonal candies while watching your favorite fall movies.
- Create a cozy atmosphere by decorating the space with blankets and pumpkins.

How to Perfect Rice Krispie Pumpkins
Creating the perfect Rice Krispie Pumpkins requires attention to detail. Here are some tips to ensure they turn out just right.
- Use fresh marshmallows – Fresh marshmallows melt better and will give you that gooey, perfectly sticky texture you want.
- Adjust the color – Feel free to add more orange gel food coloring until you reach your desired pumpkin shade. Just remember, a little goes a long way!
- Form evenly sized balls – Make sure each Rice Krispie ball is uniform in size so they cook evenly and look uniform when served.
- Let them set properly – Allow your treats to set for at least an hour before serving. This helps them hold their shape better.
- Experiment with decorations – Use different candies or edible glitter to customize your pumpkins for various occasions.
- Store correctly – Keep leftovers in an airtight container at room temperature to maintain their freshness and prevent them from getting hard.
Best Side Dishes for Rice Krispie Pumpkins
Pairing side dishes with your Rice Krispie Pumpkins can enhance the overall experience. Here are some ideas that complement these delightful treats well.
- Apple Slices – Fresh apple slices provide a crunchy contrast, perfect for balancing sweetness.
- Cheese Platter – A selection of cheeses pairs nicely, offering salty flavors that contrast the sweet treats.
- Mini Corn Dogs – These bite-sized snacks are fun and easy, making them great additions to any fall-themed meal.
- Pumpkin Soup – A warm cup of pumpkin soup adds seasonal flavor and warmth, making it perfect for chilly evenings.
- Veggie Sticks with Dip – Crisp veggies like carrots and celery served with hummus or ranch provide healthy options alongside the sweets.
- Popcorn Balls – Another fun treat, popcorn balls bring a different texture while still being festive and enjoyable.
Common Mistakes to Avoid
Making Rice Krispie Pumpkins can be a fun activity, but it’s easy to make mistakes. Here are some common pitfalls and how to avoid them:
- Skipping the non-stick spray: Not spraying your hands can result in a sticky mess when forming the pumpkin balls. Always use non-stick spray before handling the mixture.
- Overcooking the marshmallows: Cooking marshmallows too long can make them tough. Stir frequently and remove from heat as soon as melted for soft treats.
- Insufficient coloring: If you don’t add enough orange gel food coloring, your pumpkins may not look vibrant. Start with a small amount and add more until you achieve your desired shade.
- Not letting them set: Cutting or eating the treats too soon can lead to a messy outcome. Allow them to set for at least an hour for optimal firmness.
- Ignoring portion sizes: Making the balls too big or too small can affect presentation and taste. Aim for uniform sizes to maintain consistency.

Storage & Reheating Instructions
Refrigerator Storage
- Store in an airtight container for up to 5 days.
- Keep in a cool place if possible, away from direct sunlight.
Freezing Rice Krispie Pumpkins
- Wrap each pumpkin in plastic wrap, then place them in a freezer-safe container.
- Freeze for up to 3 months.
Reheating Rice Krispie Pumpkins
- Oven: Preheat to 250°F, place treats on a baking sheet, and warm for about 5 minutes.
- Microwave: Heat on low power for about 10 seconds until just warm—don’t overheat!
- Stovetop: Use a skillet over low heat, stirring gently until warmed through.
Frequently Asked Questions
Here are some common questions about making Rice Krispie Pumpkins.
Can I use different colors for my Rice Krispie Pumpkins?
You can absolutely experiment with colors! Feel free to use gel food coloring in different shades to create unique designs.
How do I make Rice Krispie Pumpkins without butter?
For a dairy-free version, substitute coconut oil or a plant-based butter alternative while following the same method.
What is the best way to decorate my Rice Krispie Pumpkins?
Consider adding sprinkles or using chocolate melts instead of Tootsie Rolls for different textures and flavors!
How long do Rice Krispie Pumpkins last?
When stored properly in an airtight container, they will last about 5 days at room temperature or up to 3 months if frozen.
Can I customize my Rice Krispie Pumpkins?
Definitely! You can mix in candy pieces or use flavored marshmallows for added fun and flavor variations.
Final Thoughts
Rice Krispie Pumpkins are not only adorable but also versatile. They make an excellent treat for Halloween parties or cozy family gatherings. Don’t hesitate to customize these treats with your favorite candies or colors; the possibilities are endless!

Rice Krispie Pumpkins
- Total Time: 25 minutes
- Yield: Approximately 10 servings 1x
Description
Rice Krispie Pumpkins are the perfect no-bake treat to celebrate the fall season! These delightful, chewy pumpkin-shaped snacks are easy to make and bursting with festive fun. Perfect for Halloween parties, family gatherings, or school events, they provide a creative way for kids to join in on the fun. With vibrant orange colors and simple decorations using candies, these treats not only look adorable but taste delicious too. Plus, they come together in under 30 minutes—making them an ideal last-minute dessert!
Ingredients
- 6 cups Rice Krispies Cereal
- 6 cups Miniature Marshmallows
- 3 tablespoons Unsalted Butter
- Orange Gel Food Coloring
- Tootsie Roll Candies (for decoration)
- Green M&M Candies (for decoration)
Instructions
- Melt unsalted butter in a large pot over medium heat.
- Stir in miniature marshmallows and cook until completely melted and smooth.
- Remove from heat and mix in orange gel food coloring until evenly distributed.
- Add Rice Krispies cereal, stirring gently until well-coated with the marshmallow mixture.
- Spray hands with non-stick cooking spray, then shape the mixture into large balls resembling pumpkins.
- Decorate each pumpkin with a Tootsie Roll as a stump and a green M&M as a leaf.
- Allow to set at room temperature for about one hour before serving.
- Prep Time: 10 minutes
- Cook Time: 15 minutes
- Category: Dessert
- Method: No-bake
- Cuisine: American
Nutrition
- Serving Size: 1 serving
- Calories: 160
- Sugar: 18g
- Sodium: 70mg
- Fat: 4g
- Saturated Fat: 2g
- Unsaturated Fat: 2g
- Trans Fat: 0g
- Carbohydrates: 32g
- Fiber: 0g
- Protein: 1g
- Cholesterol: 5mg


 25")

